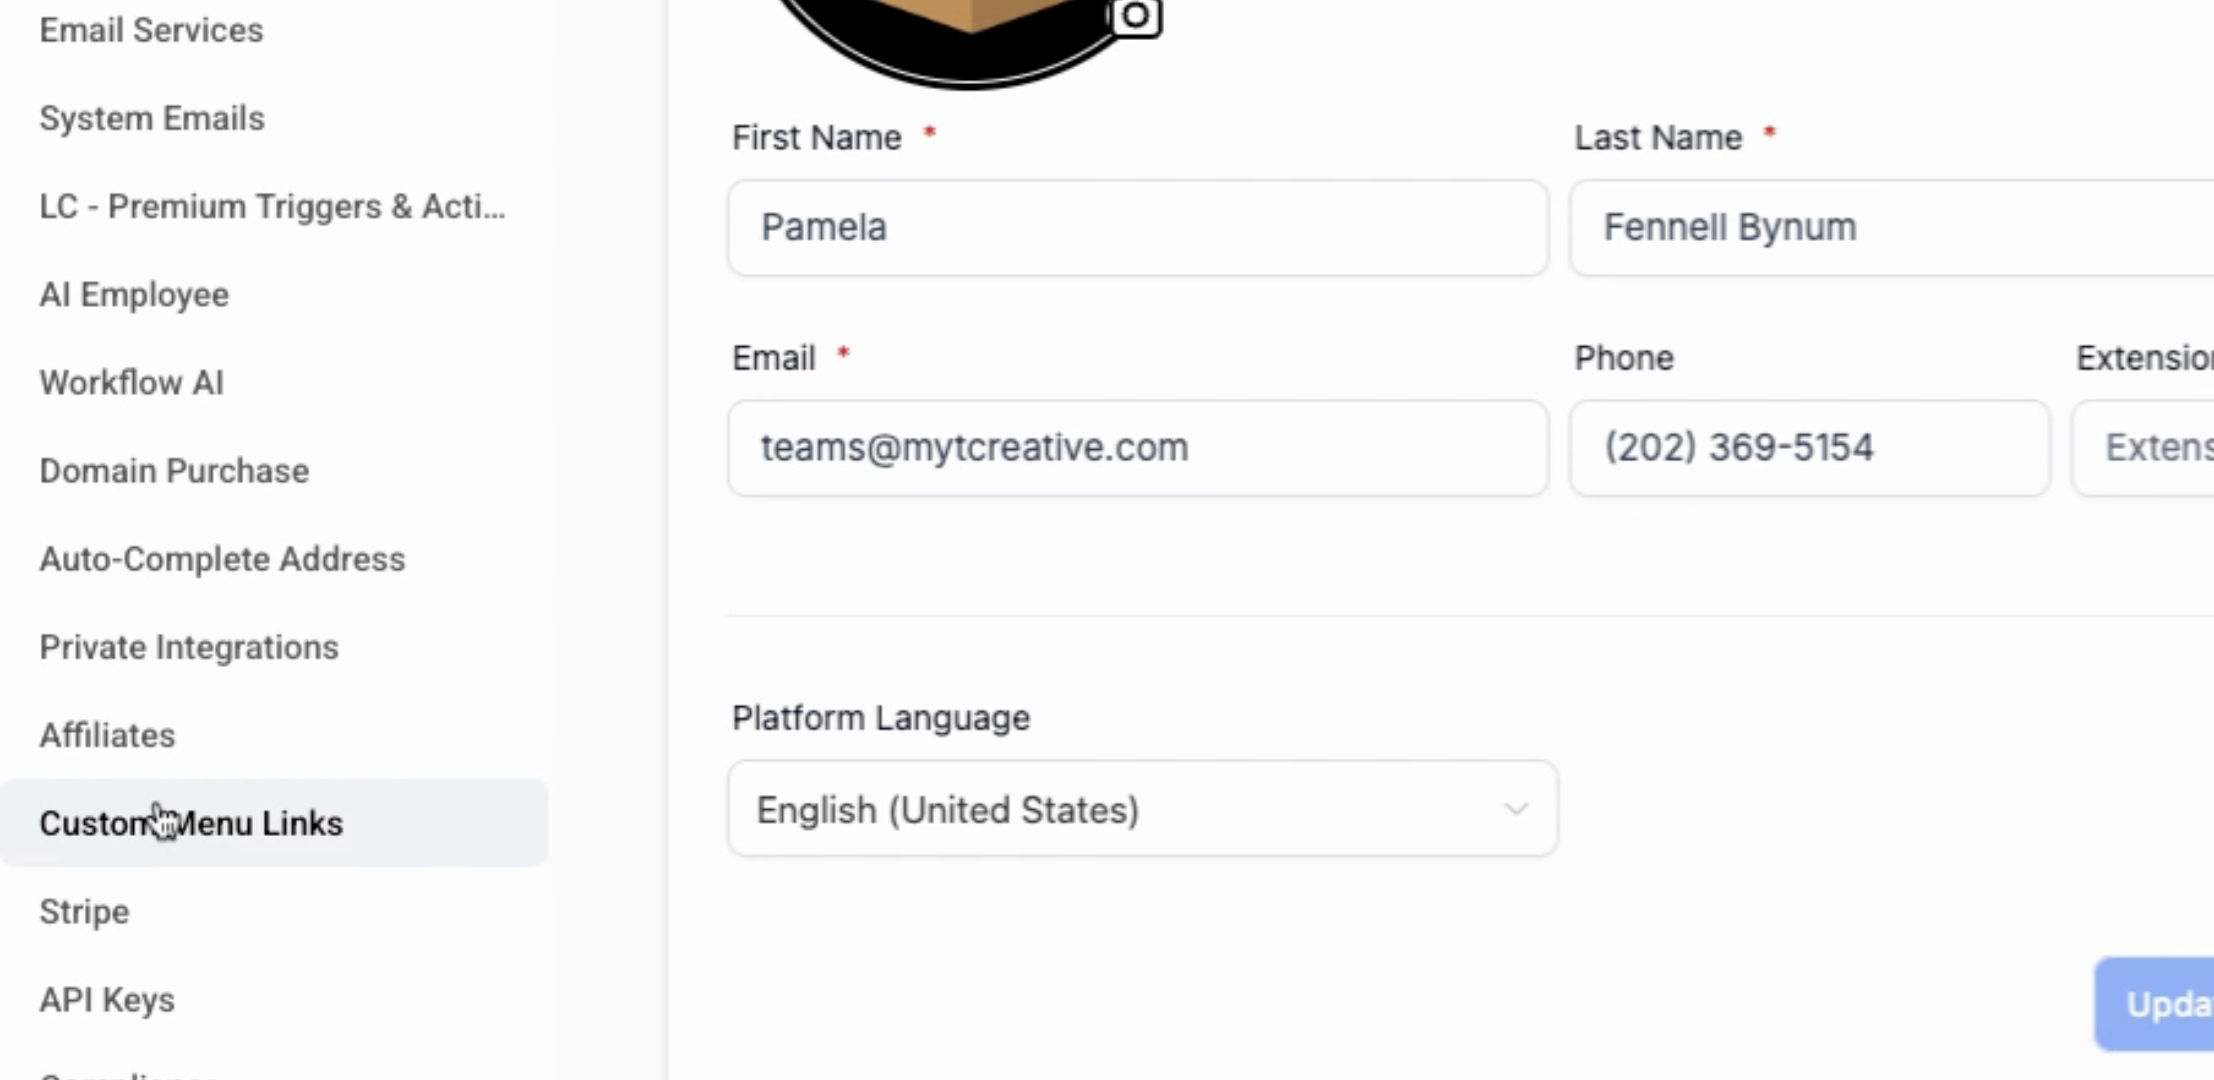
Start by clicking on Settings located at the bottom left-hand corner. This will take you into the settings section.

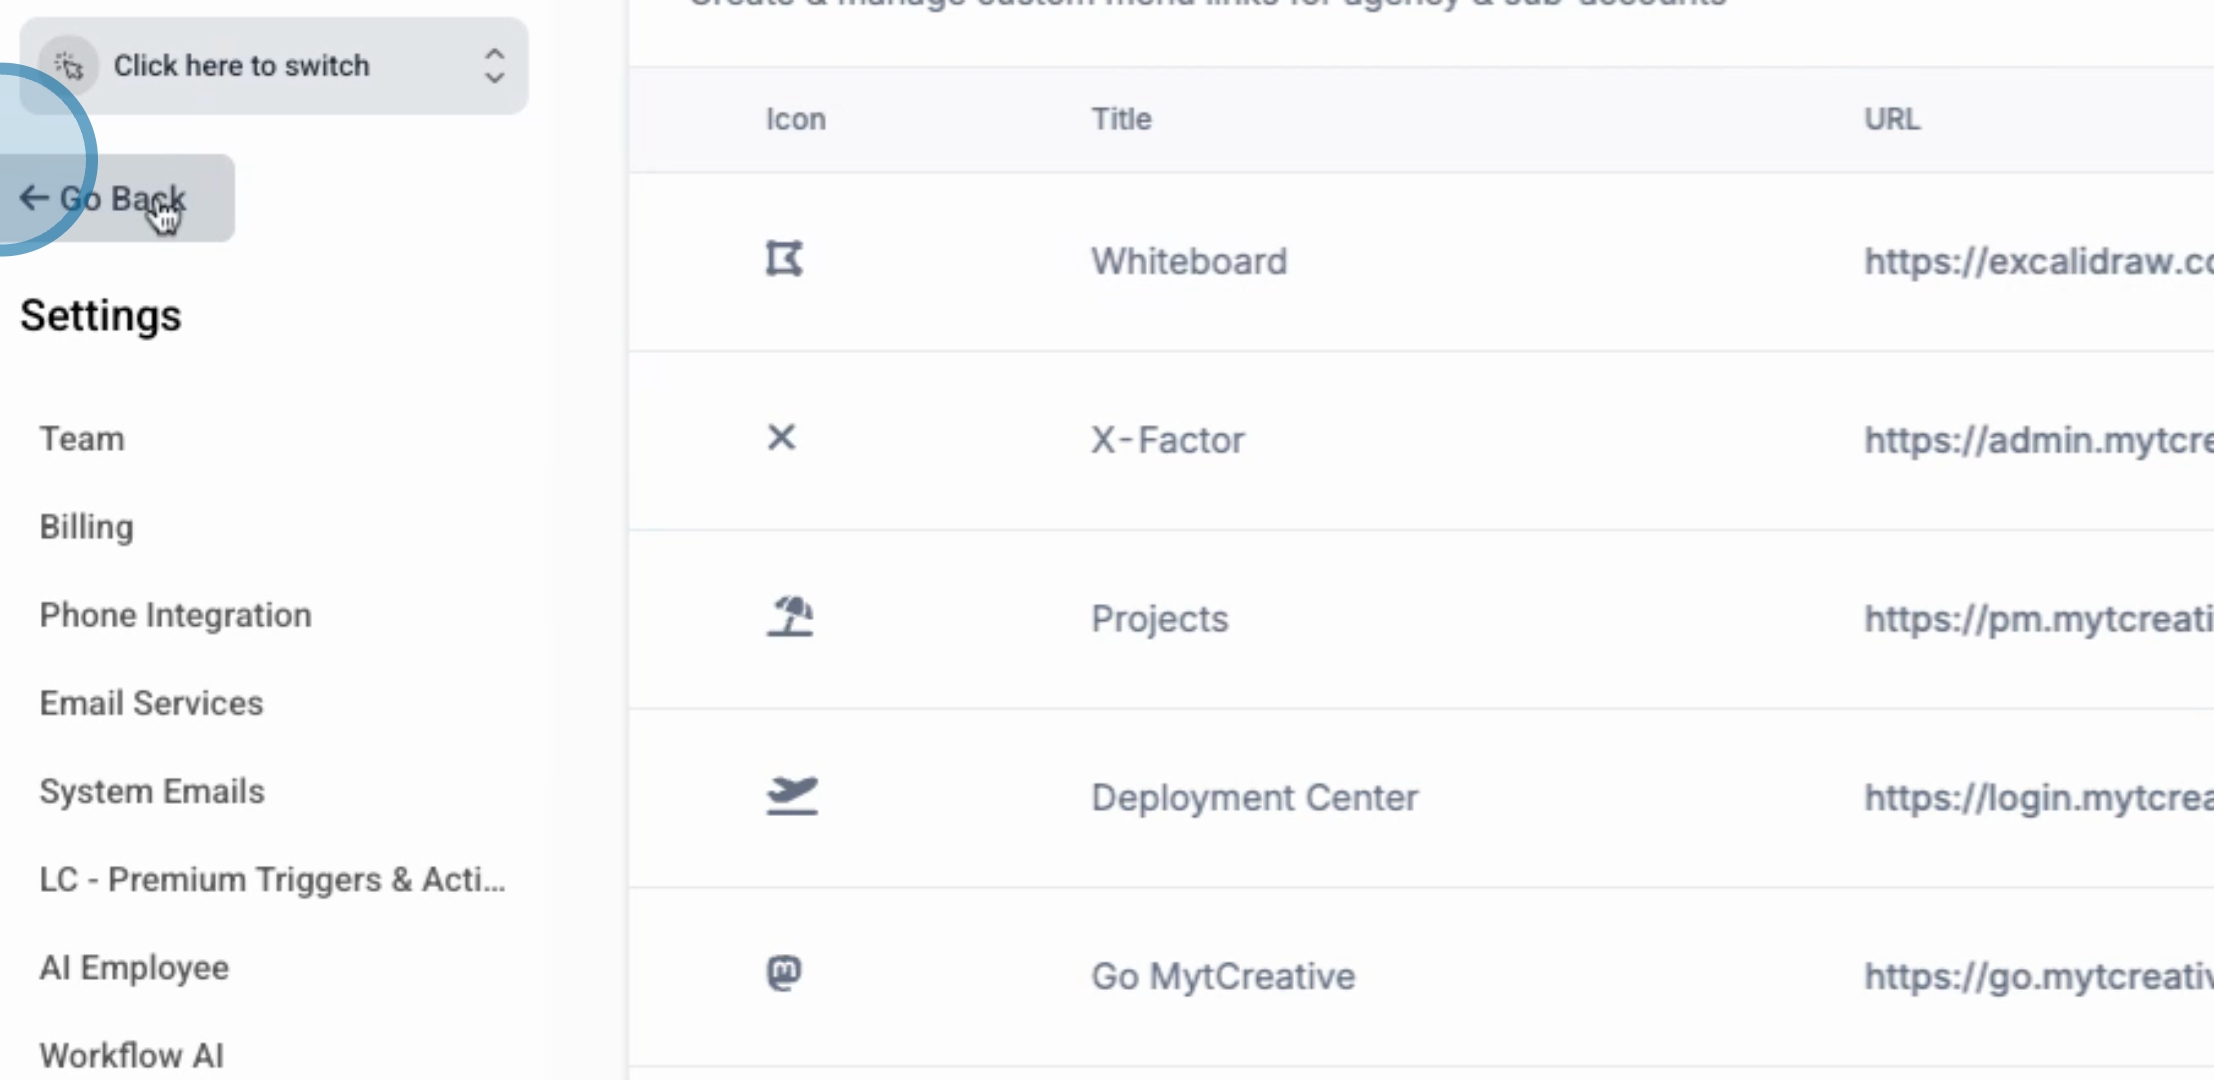
Scroll down on the left until you see Custom Menu Links, then click on the Create New Link icon.
If you know what the icon is going to be, you can select it. In this example, we will be using a question mark icon.
Next, set the Link Title to Support and paste the link in the provided field.
You may choose to open the link in the current window as an embedded iframe, allowing it to open within this section. Additionally, decide if this link will appear on the Agency Sidebar.
We will not include this link on the agency sidebar, so we will uncheck that option. Instead, this link will be added to the Sub Account Sidebar for the selected sub-account.
You can also include additional sub-accounts, select the account name, and choose role-based visibility options. In this case, we will set it to All and allow microphone and camera access.
Afterwards, click Save. We will then return to the previous screen and switch to the Selected sub account.
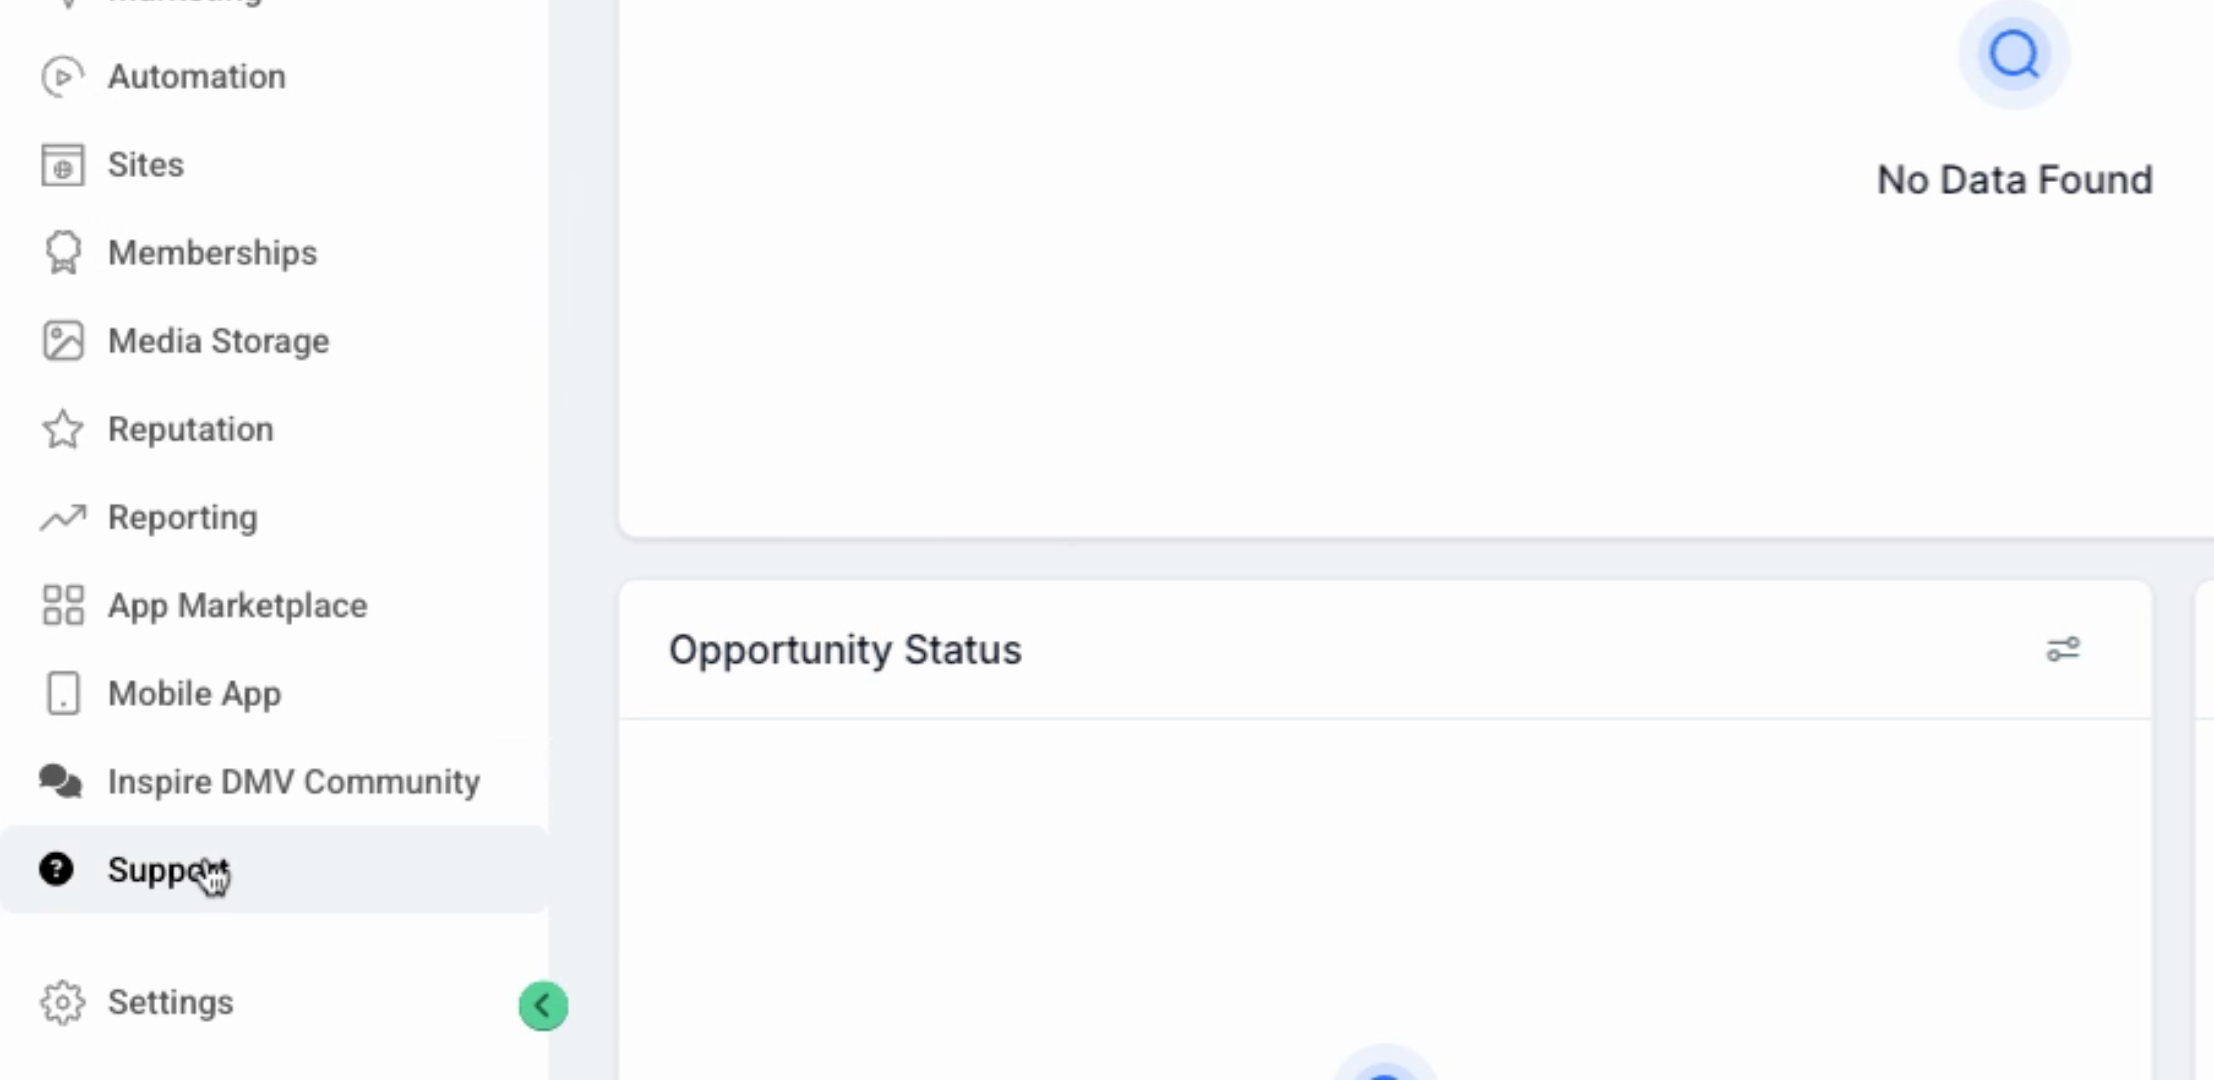
Scroll down to locate the Support Tab, which is your custom support menu link. Click on Support to access it.
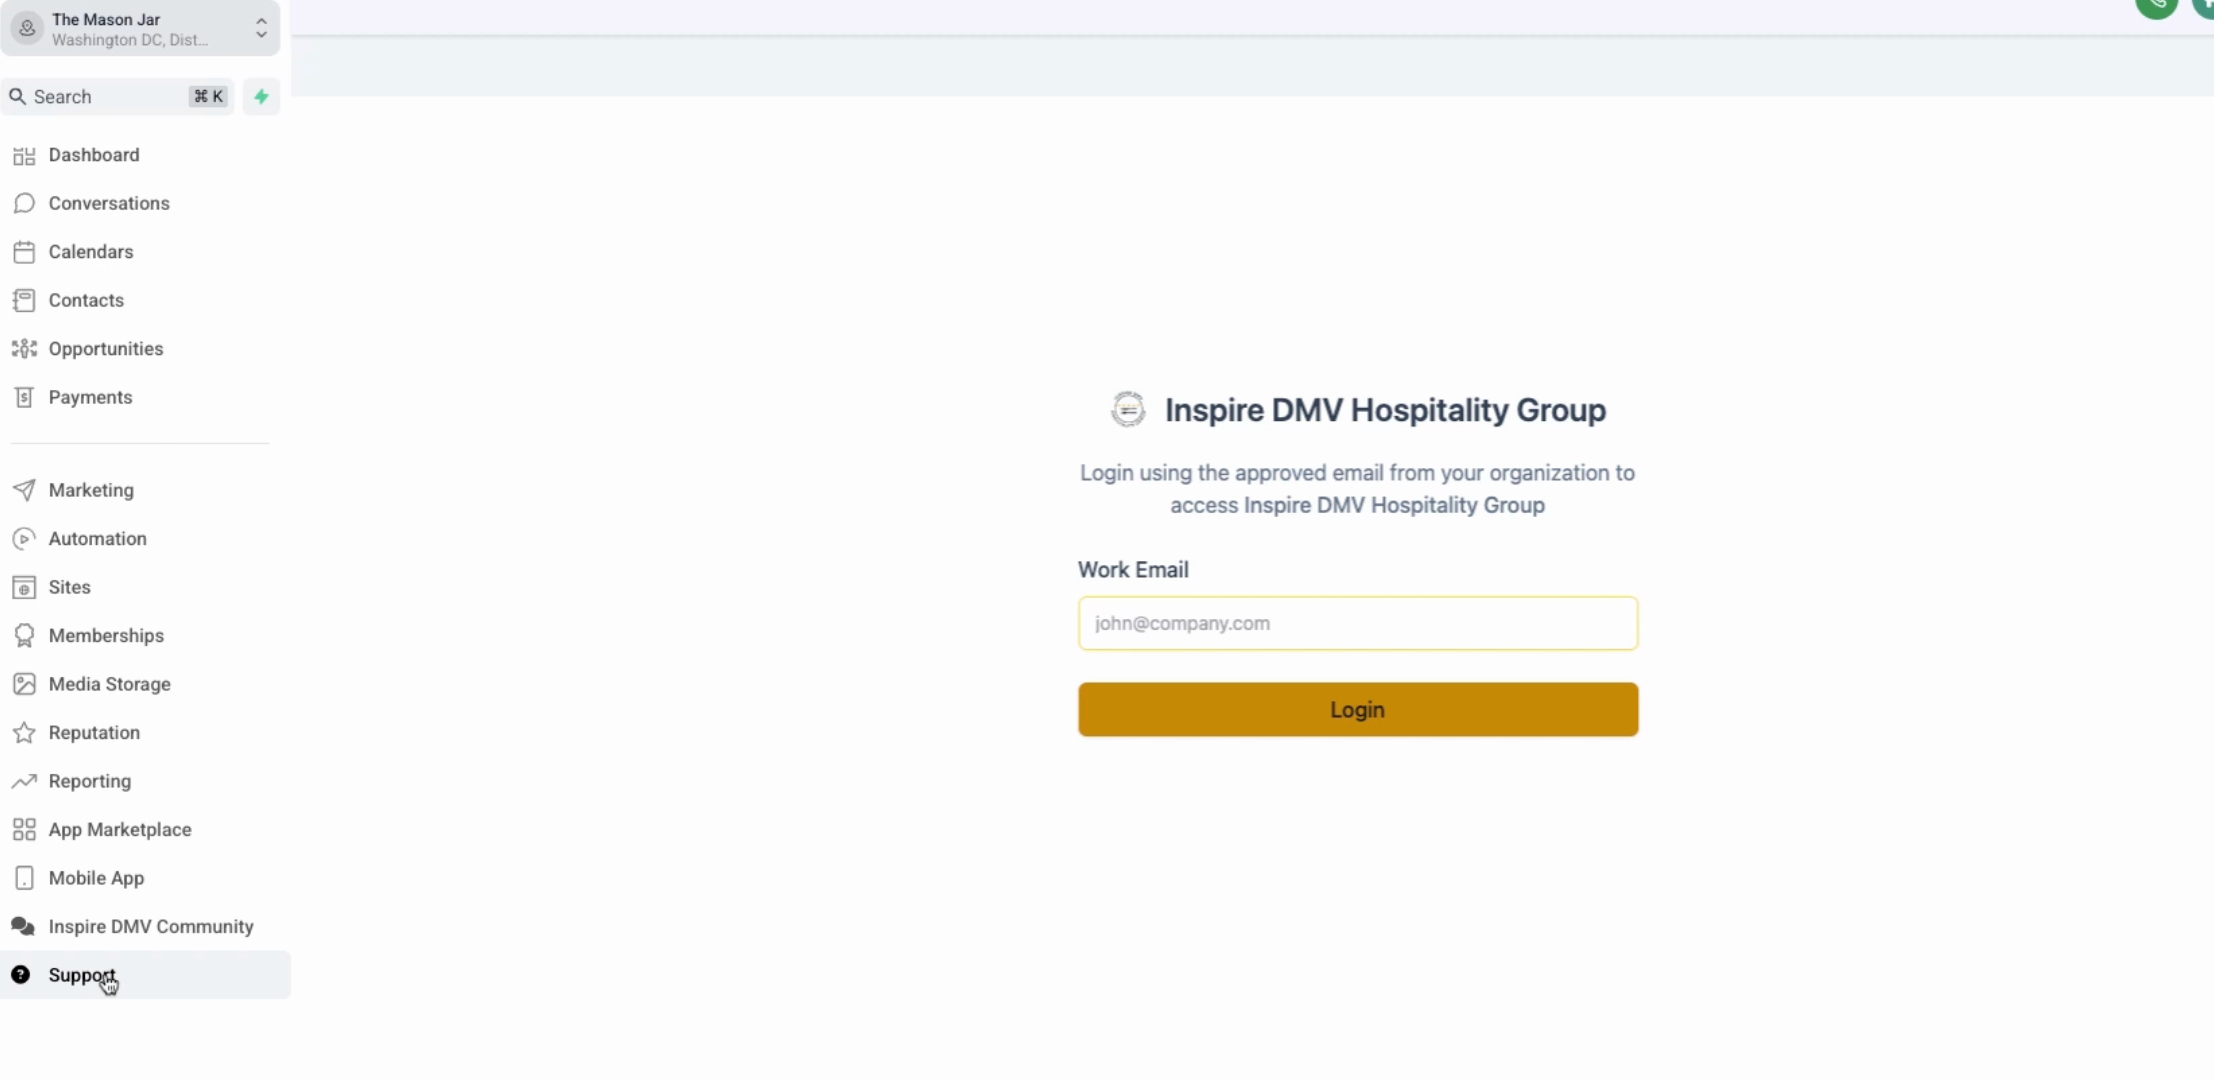
This link should open your support page as intended in the window, thus completing the process of adding a custom menu link.
By following these steps, you will successfully add custom links to your application. Thank you for watching, and see you next time!