We are looking at the Launchpad tool in its default form. You will use what we call our business portal to enter all the necessary information.

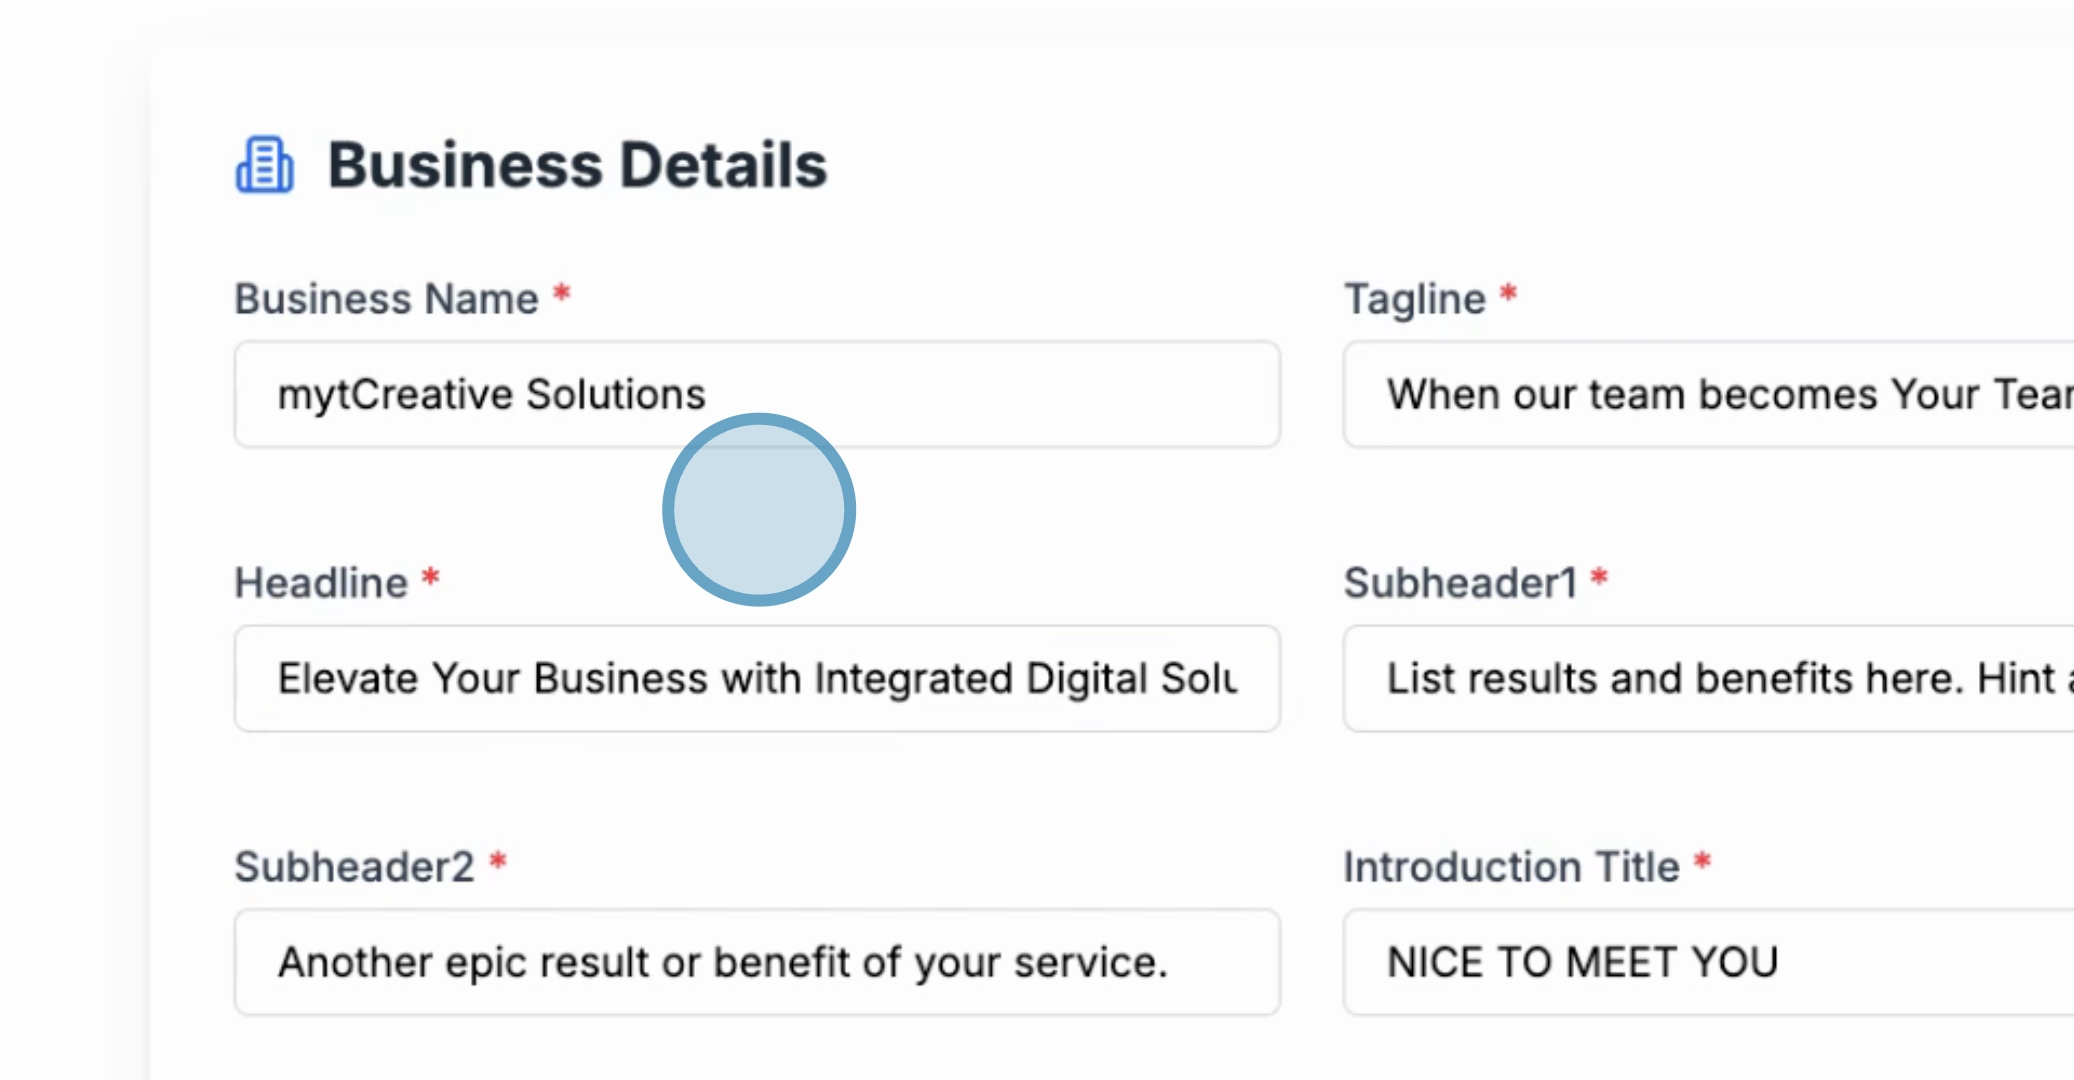
For this demonstration, we will use Mighty Creative Solutions as our example business name.
Let's set our tagline to when our team becomes number T and use this as our main headline.
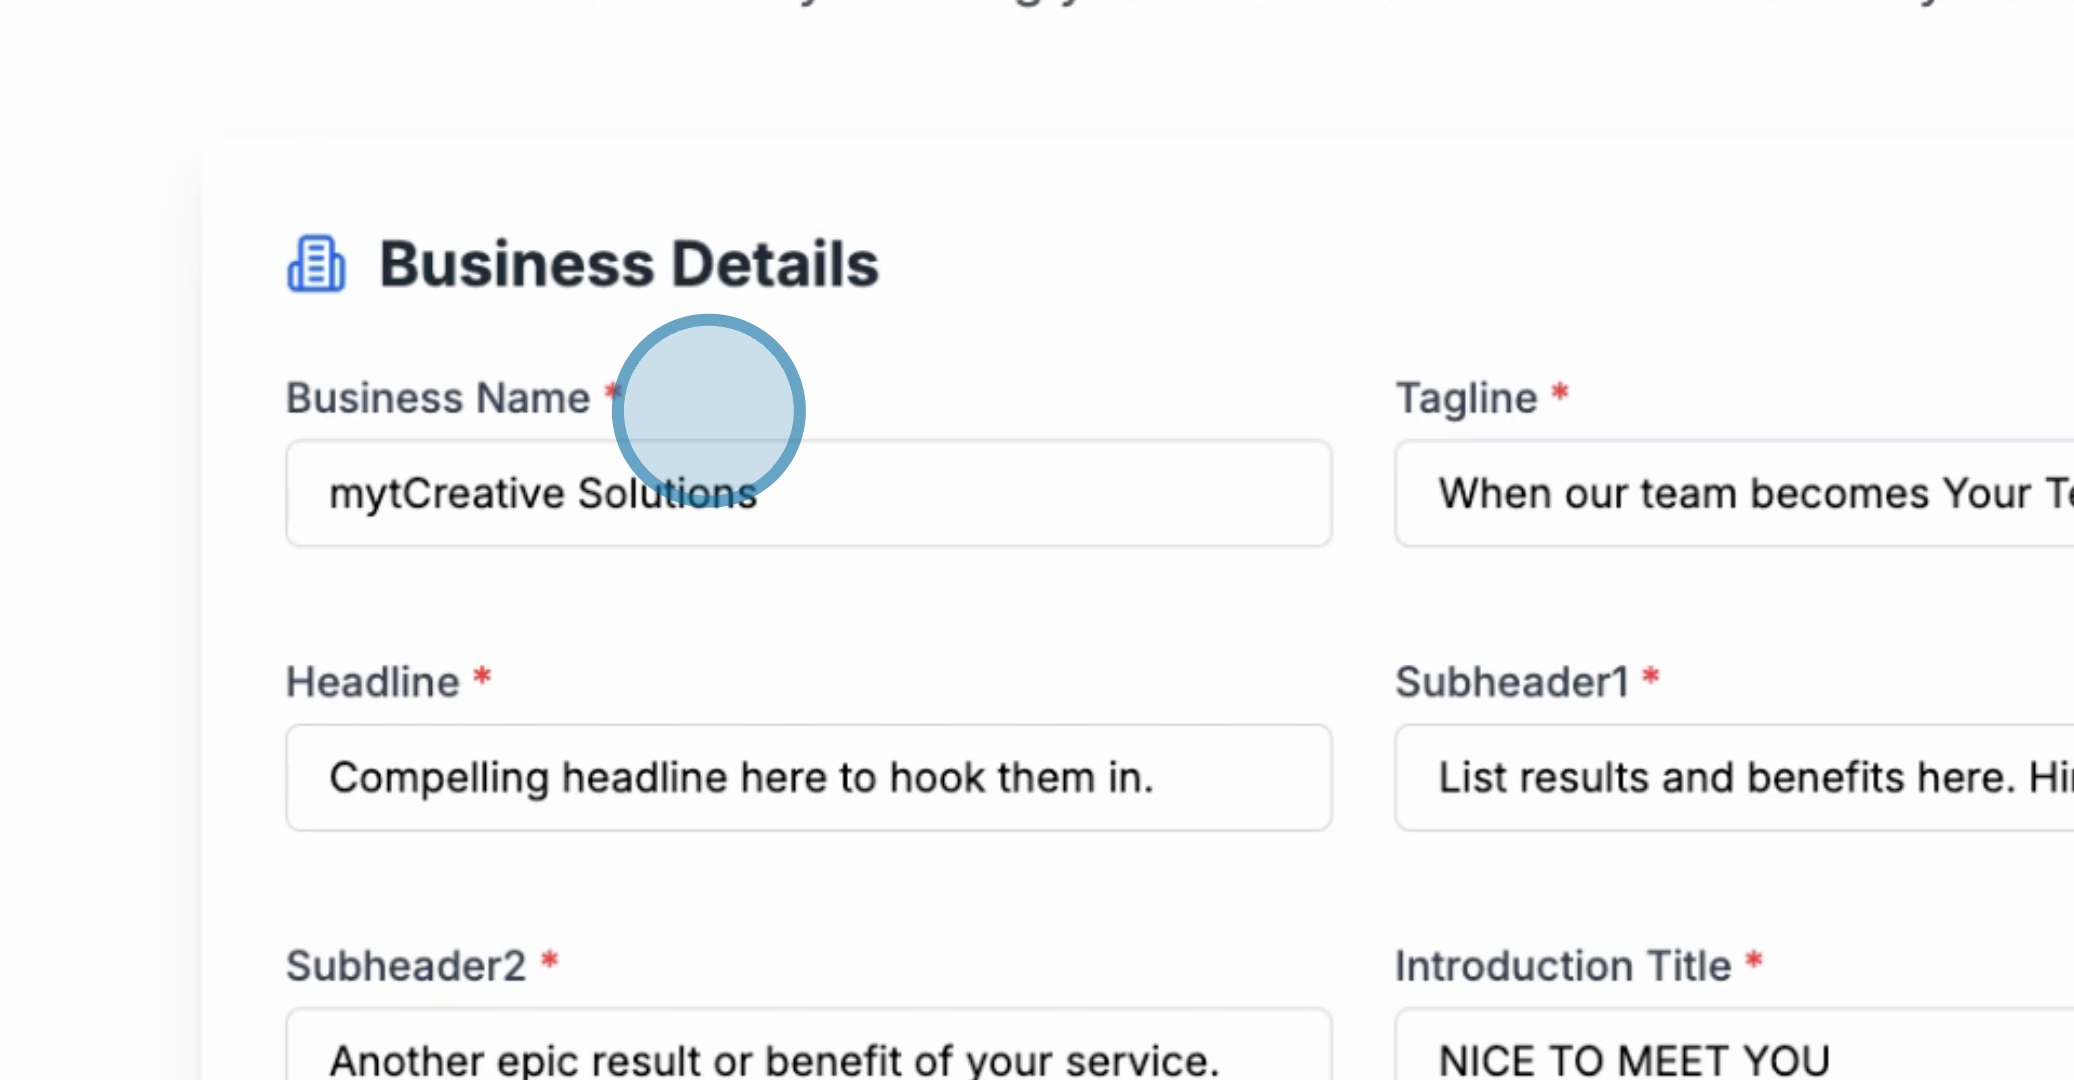
Next, we will create our sub headlines, including sub headline number one and sub headline number two.
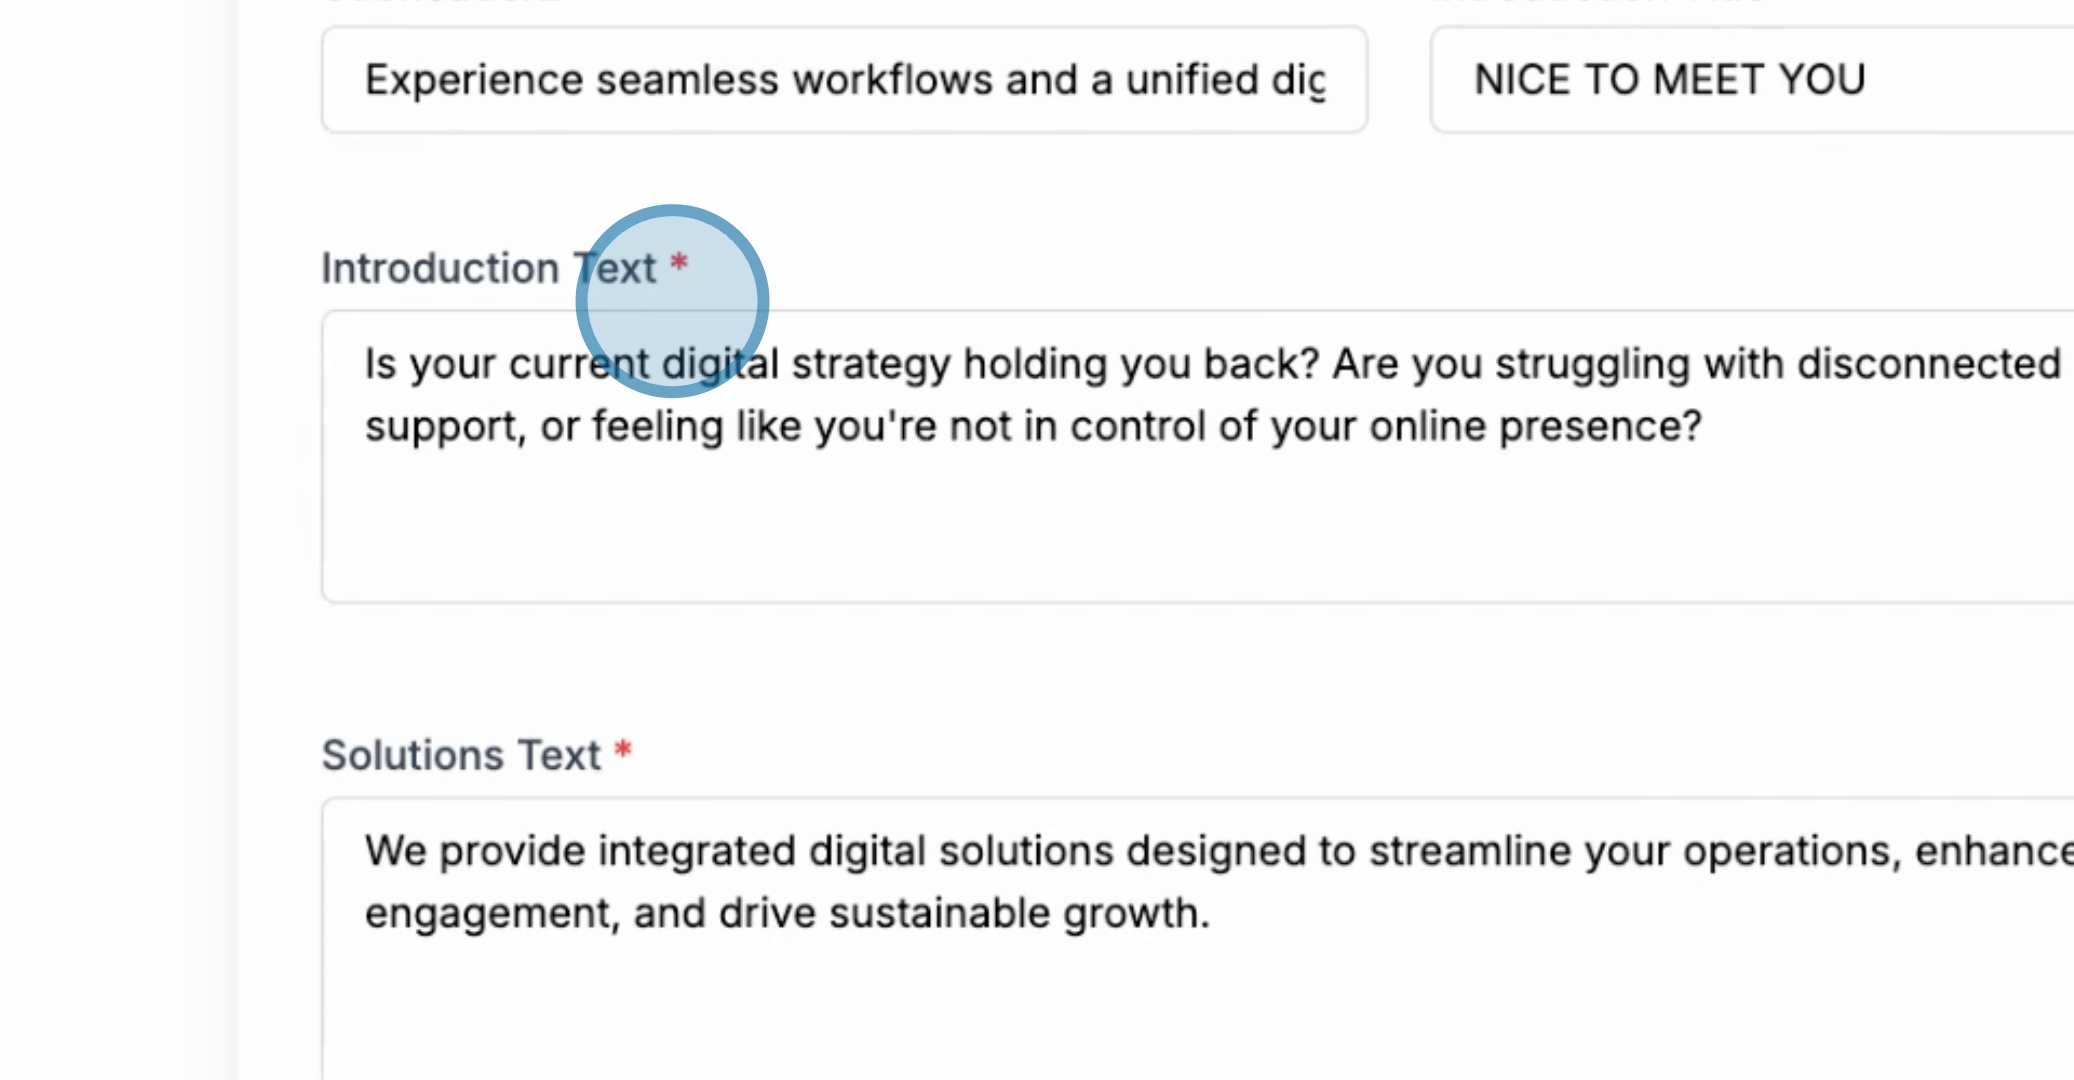
We will now change our introductory text along with our benefits. Let’s specify each benefit including benefit number one, benefit number two, benefit number three, and benefit number four.
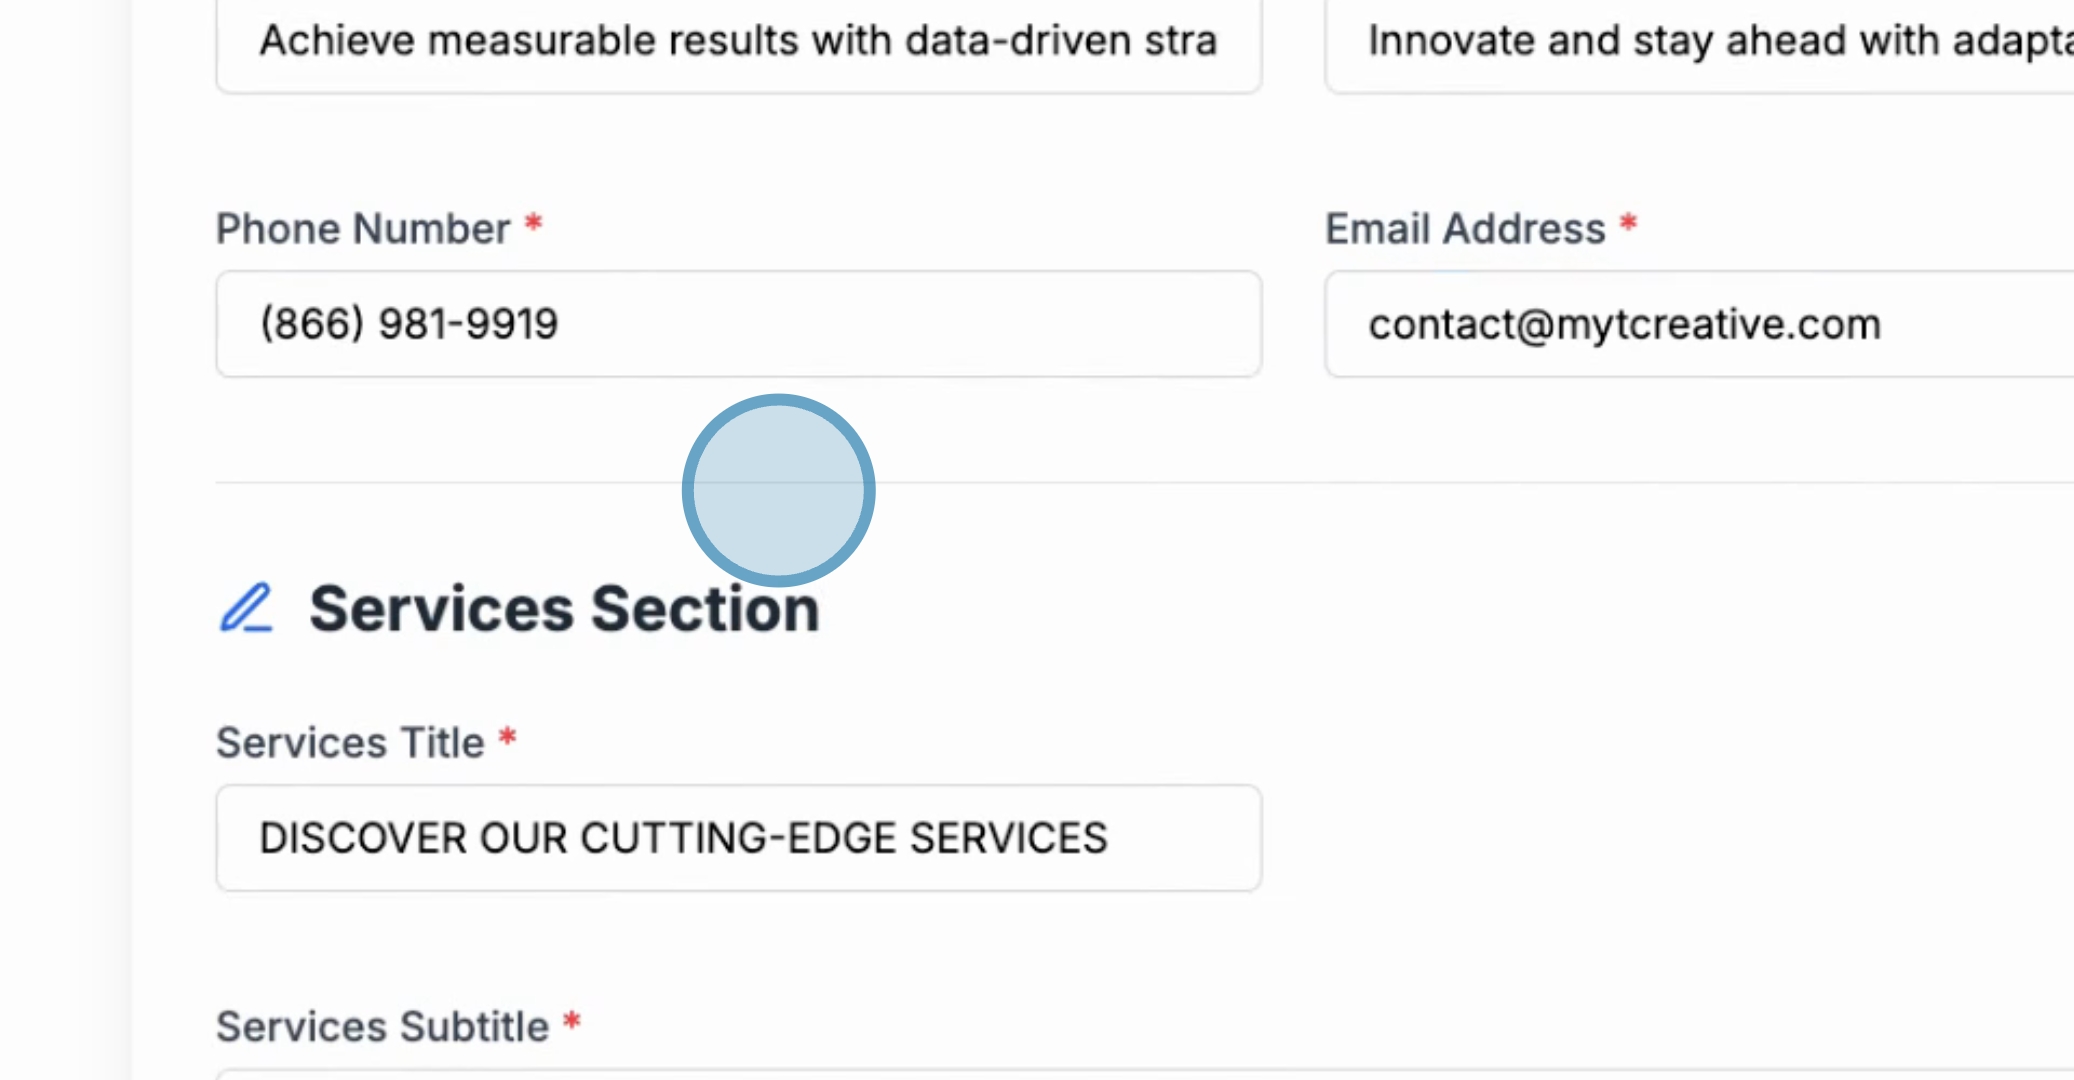
Now, enter your business phone number, for instance, 19 contact, and proceed to the services section.

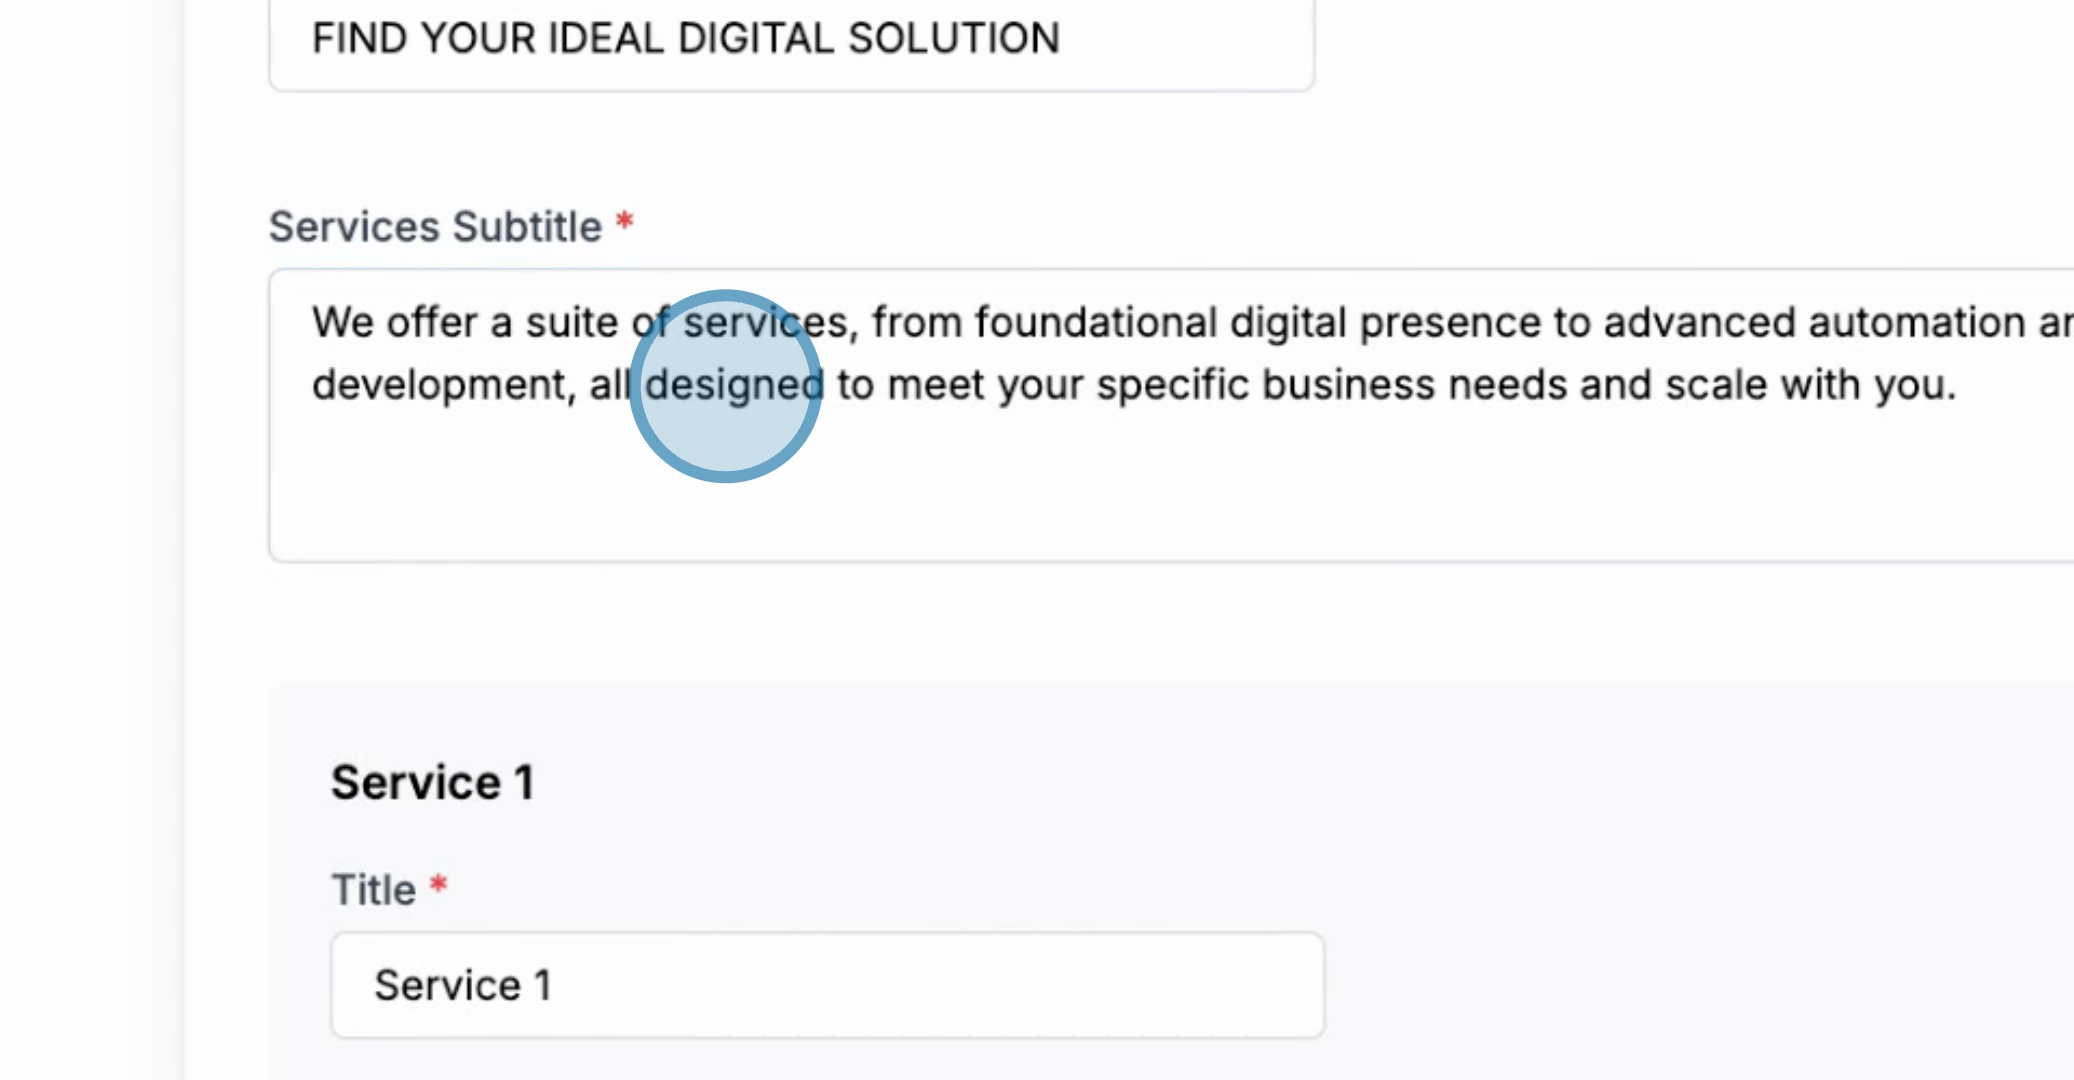
Here, we will define a title for our services alongside a subtitle. This serves as an introductory text for the section.
For the services, include service number one with its description, followed by service number two and its description, and finally service number three.
Once all information is entered, click Save and Continue to proceed.
You will then see a live preview of the information you've entered. Review and ensure that each area has been updated correctly.
The live preview will display your business name, Mighty Creative, the compelling hook headline, sub headlines, and your updated contact information.

By following these steps, you will successfully set up your business information using the Launchpad tool.