This tutorial will guide you through the process of managing documents and contracts within the payments section, including uploading PDFs and creating templates.
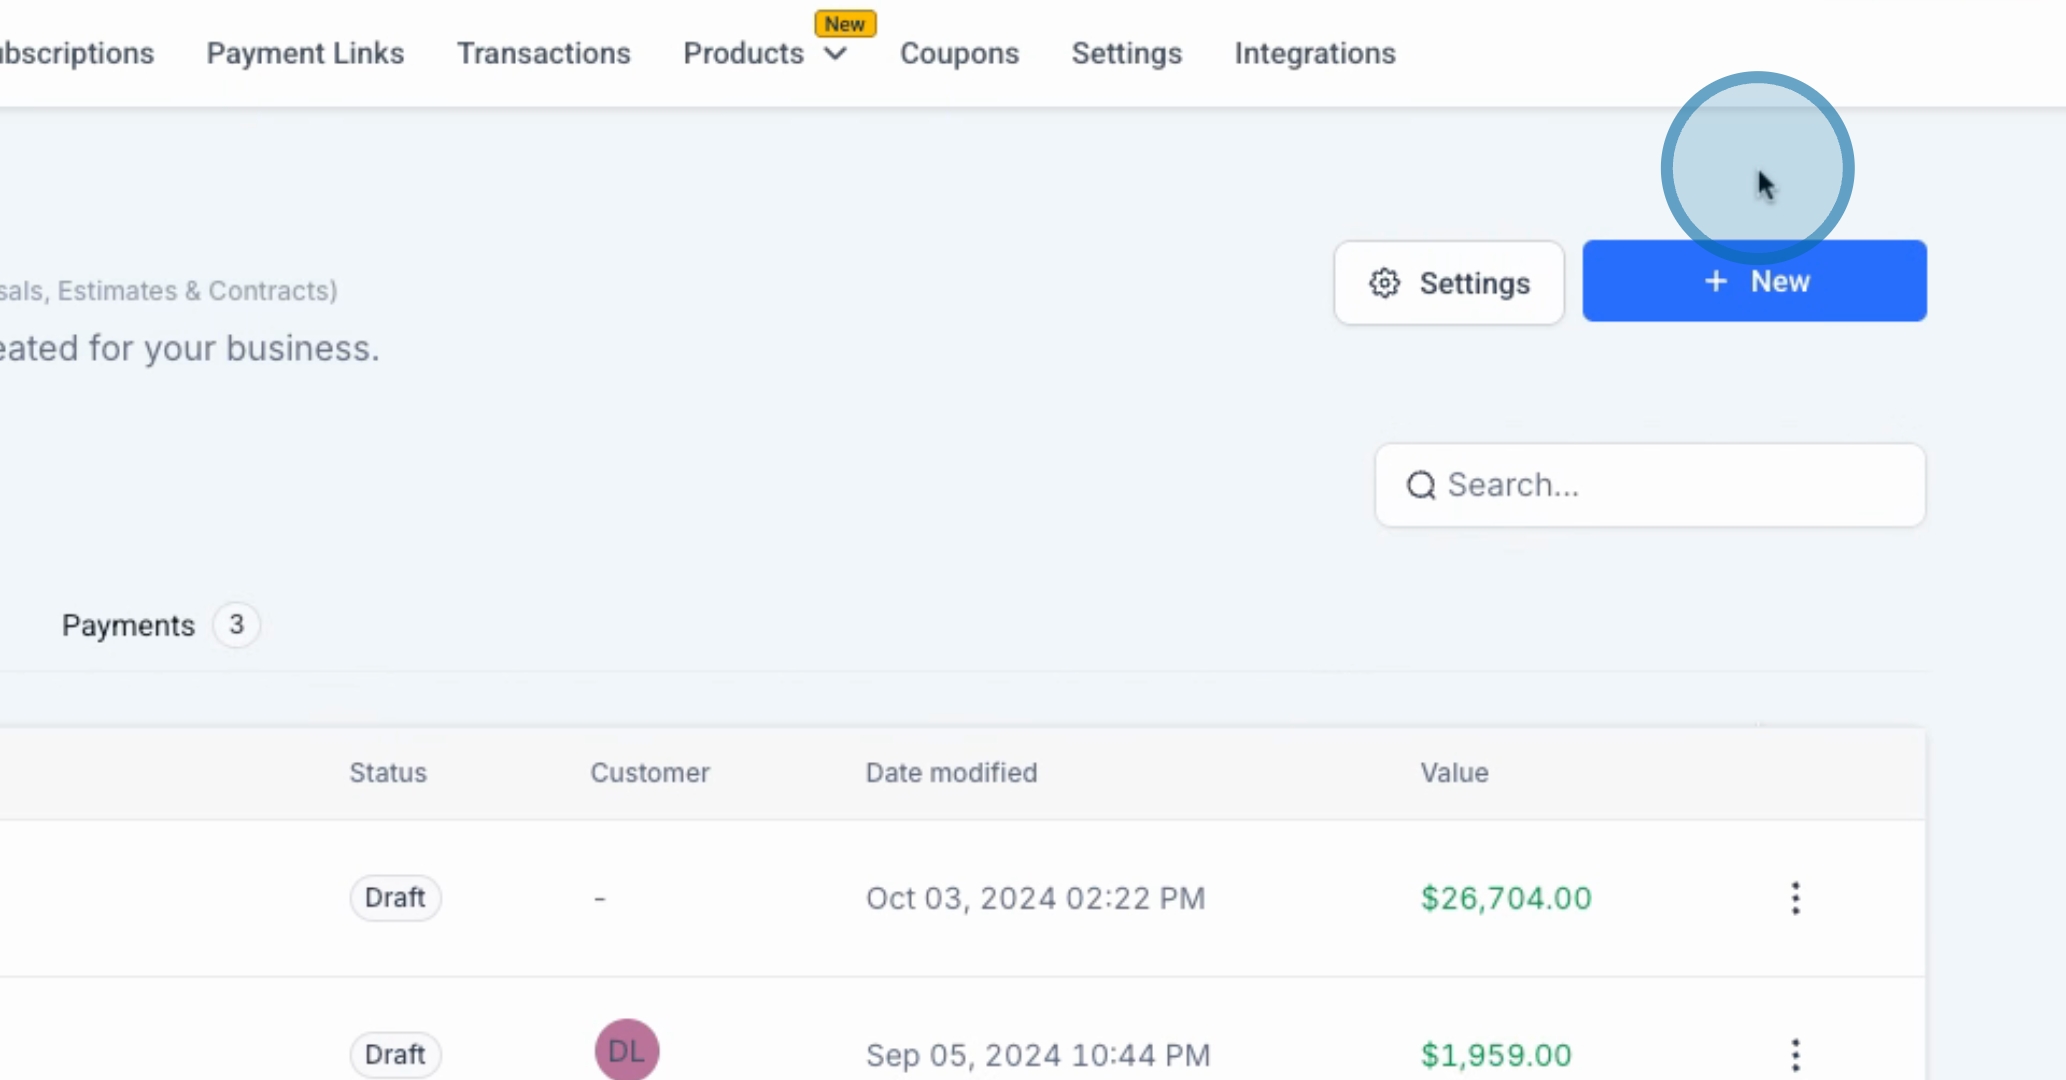
Click on the New button to access various options for document creation.
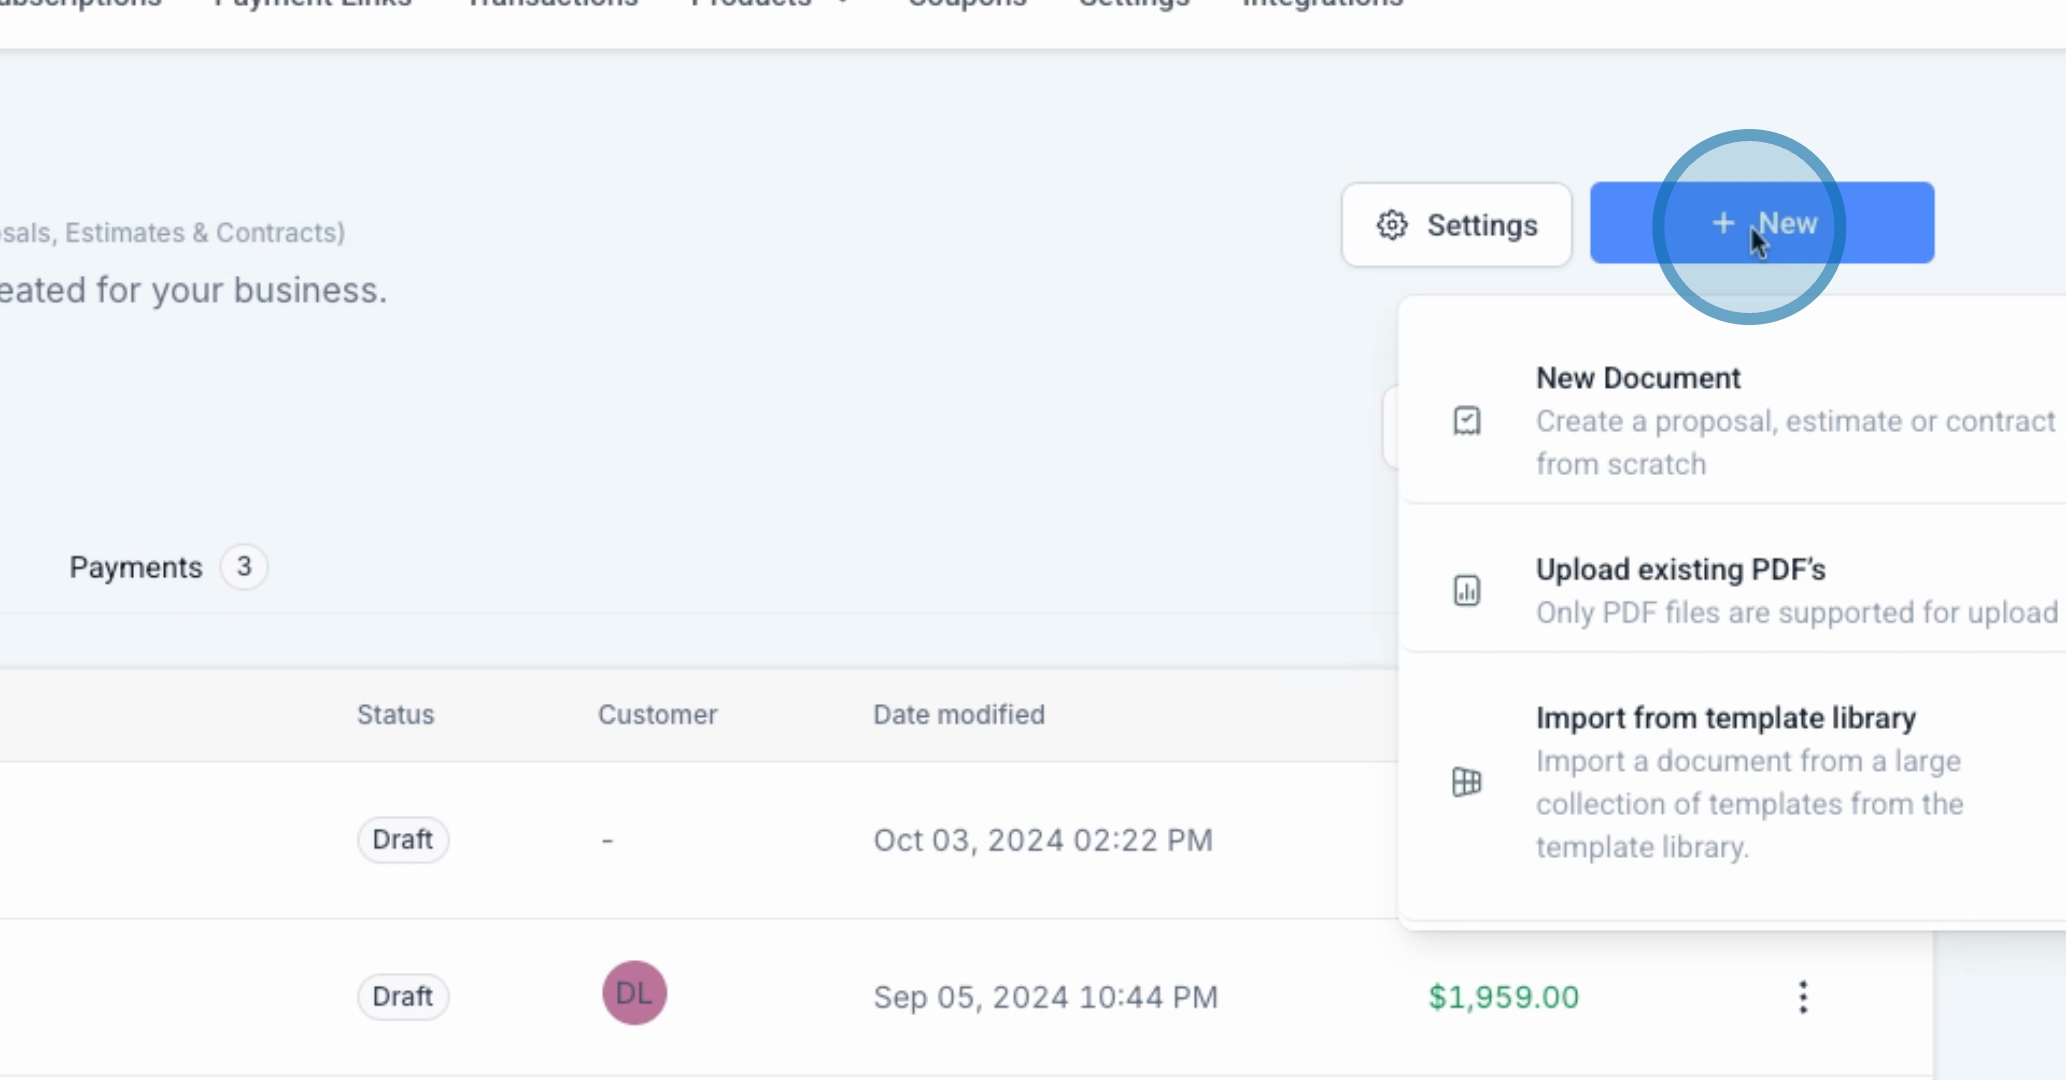
You will be presented with options to create a new document, upload an existing PDF, or import from the library.
For this tutorial, we will proceed with uploading an existing PDF. I have prepared a PDF based on the document you provided earlier. Click the Upload button to begin the upload process.
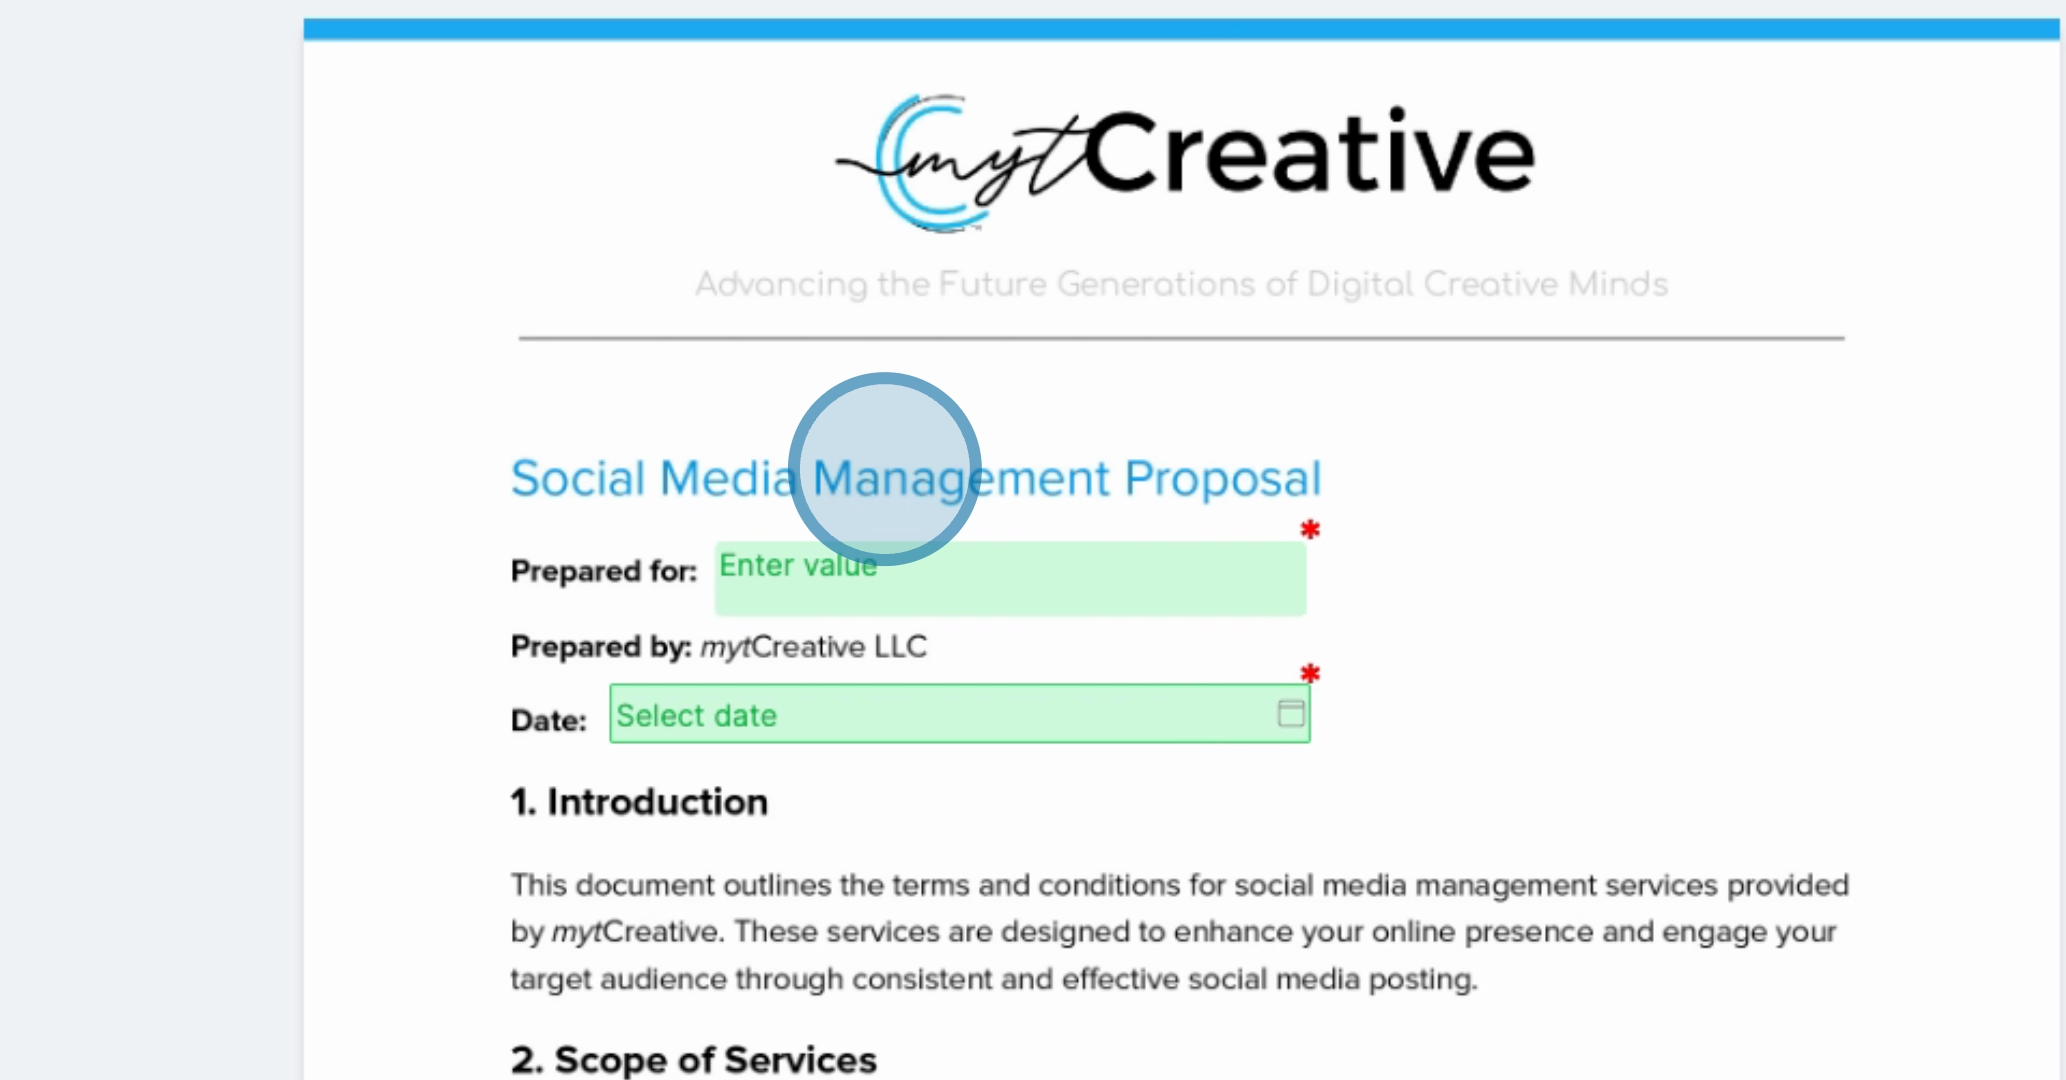
Wait for the upload to complete. Once processed, the document will open, displaying the header, tagline, and all information you submitted.
The first step is to prepare the document for the client name. You are required to add the client name element here.
Select a Text Field and label it Client Name.
You can also add a Date Field to the document. This allows clients to input relevant dates. Drag the date field to the desired position on the document.
Next, ensure that the document includes a Title. Copy the input for the title section accordingly.
To accommodate client input, provide sections for Contact Information and a Signature field. Ensure the signature field is wide enough for the client’s convenience.
Once you have made all necessary adjustments, click Save to save your document. You can then hit Preview to view your document in another window.
After previewing, you can send the document. When you click Send, it will look for the client information you entered and initiate the sending process.
To streamline future processes, consider converting this document into a template. Select the Convert to Template option, and then save the template for reuse.
When ready to use the template, simply select the desired template and proceed with the necessary steps to send it out.
By following these steps, you will effectively manage documents and contracts in the payments section, ensuring a smooth process for uploading and reusing important documentation.