Introduction
Welcome to our tutorial on enhancing your user experience by efficiently managing custom values. In this guide, we will walk you through the process of transferring information gathered from the onboarding form into custom values. This will help you keep track of authors and their details, ensuring a seamless onboarding experience.
How to Instructions
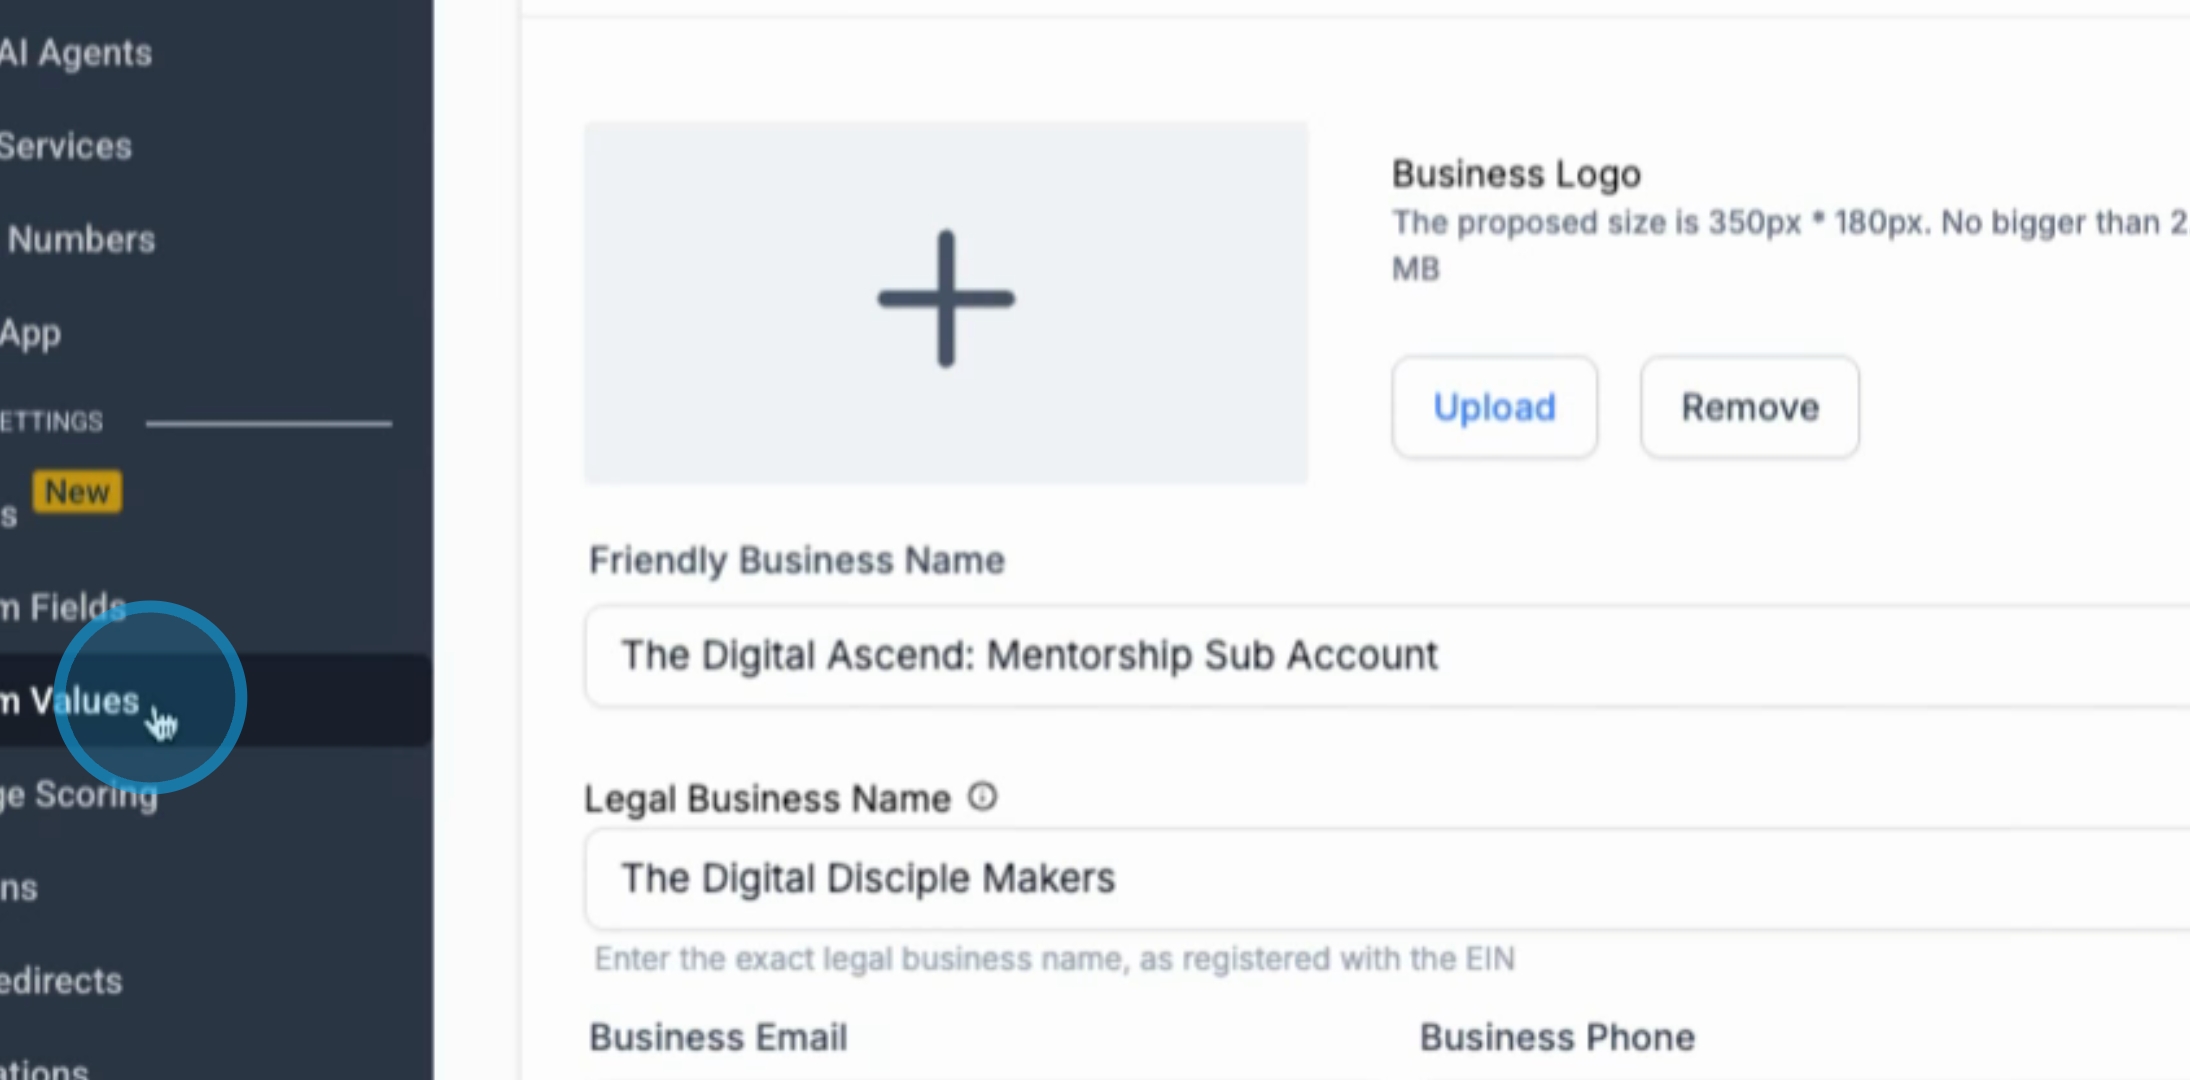
1. Access Settings
Begin by navigating to the bottom left-hand corner of your screen and clicking on Settings.

2. Locate Custom Value Option
Once in the settings, find the Custom Value option and click on it.
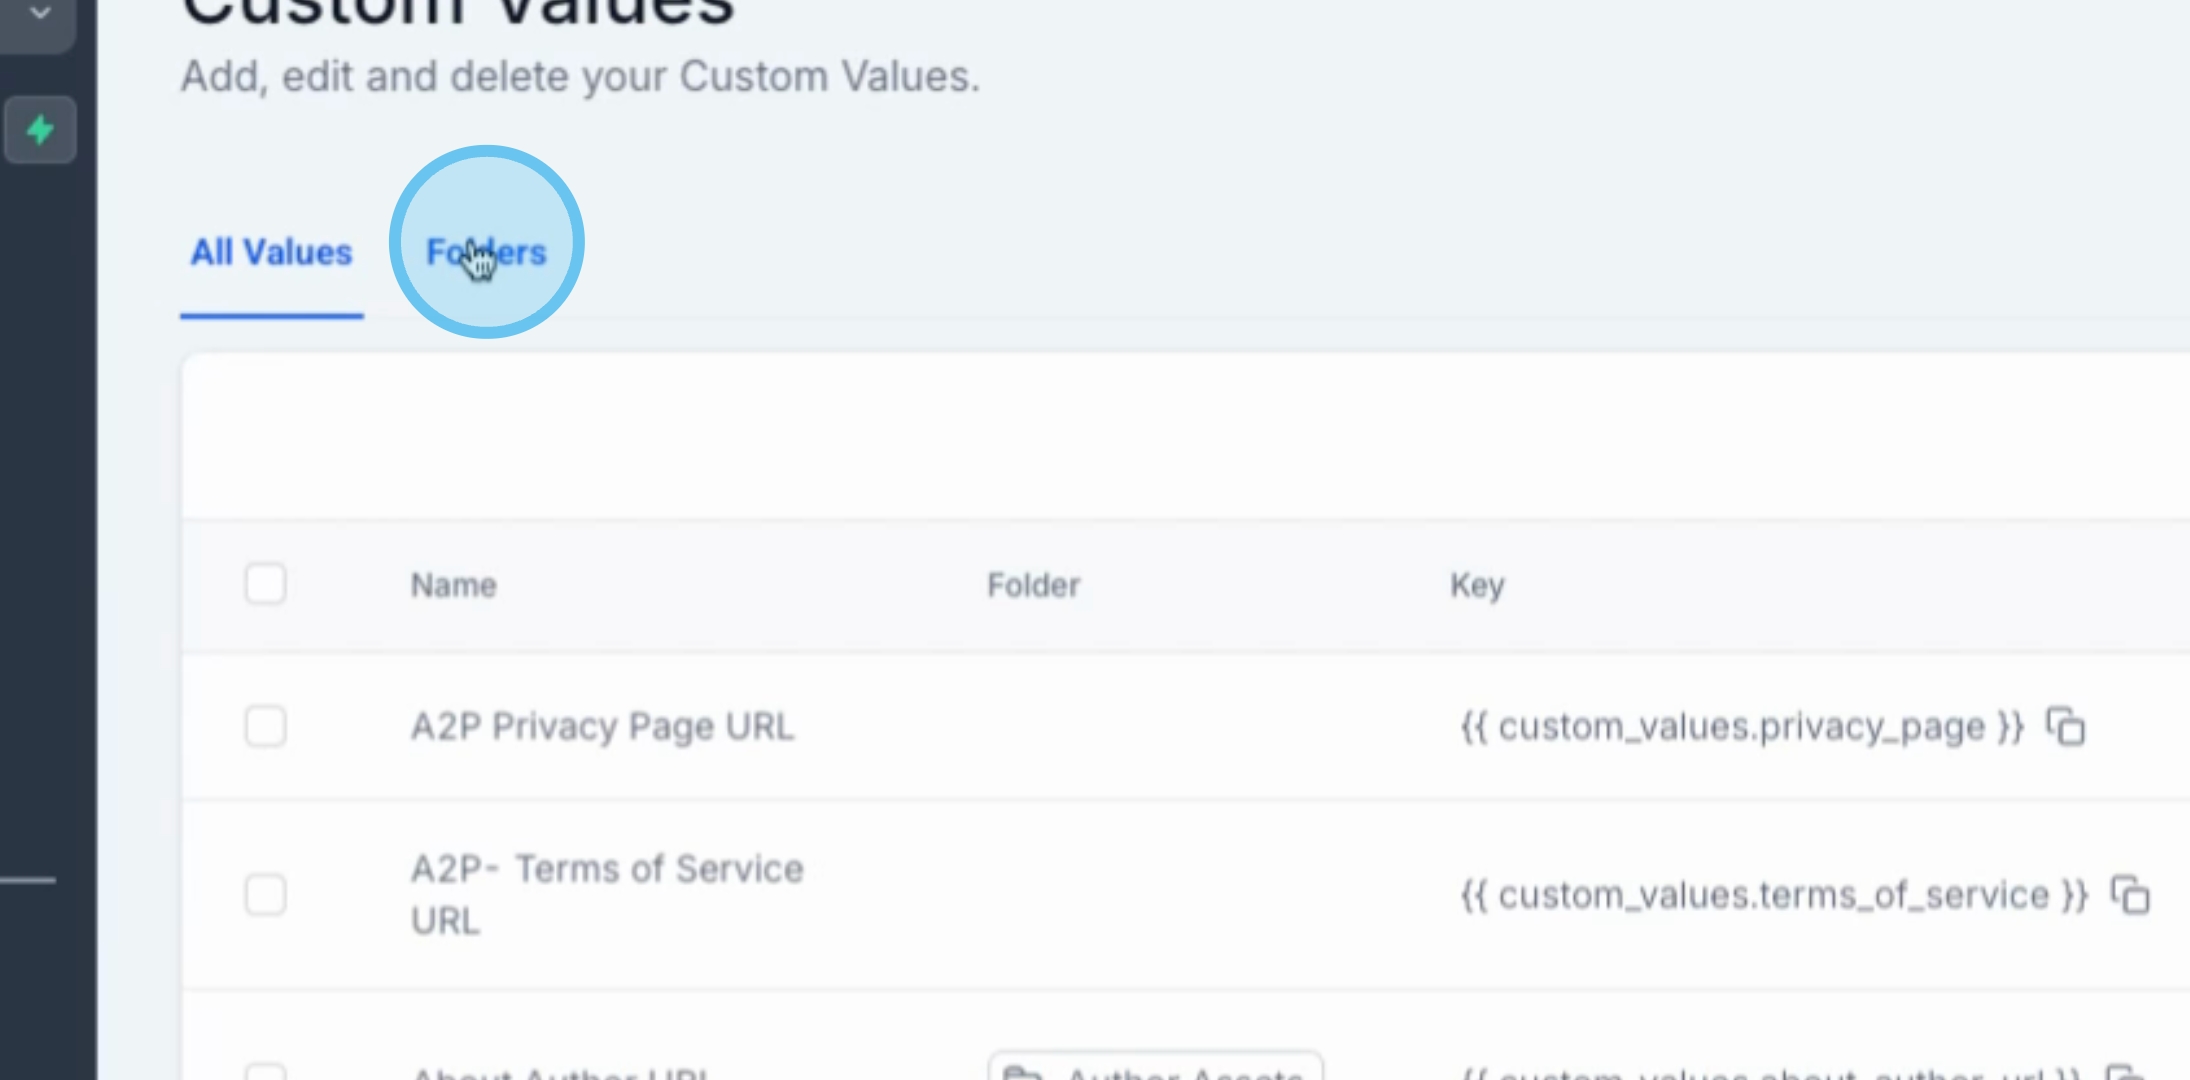
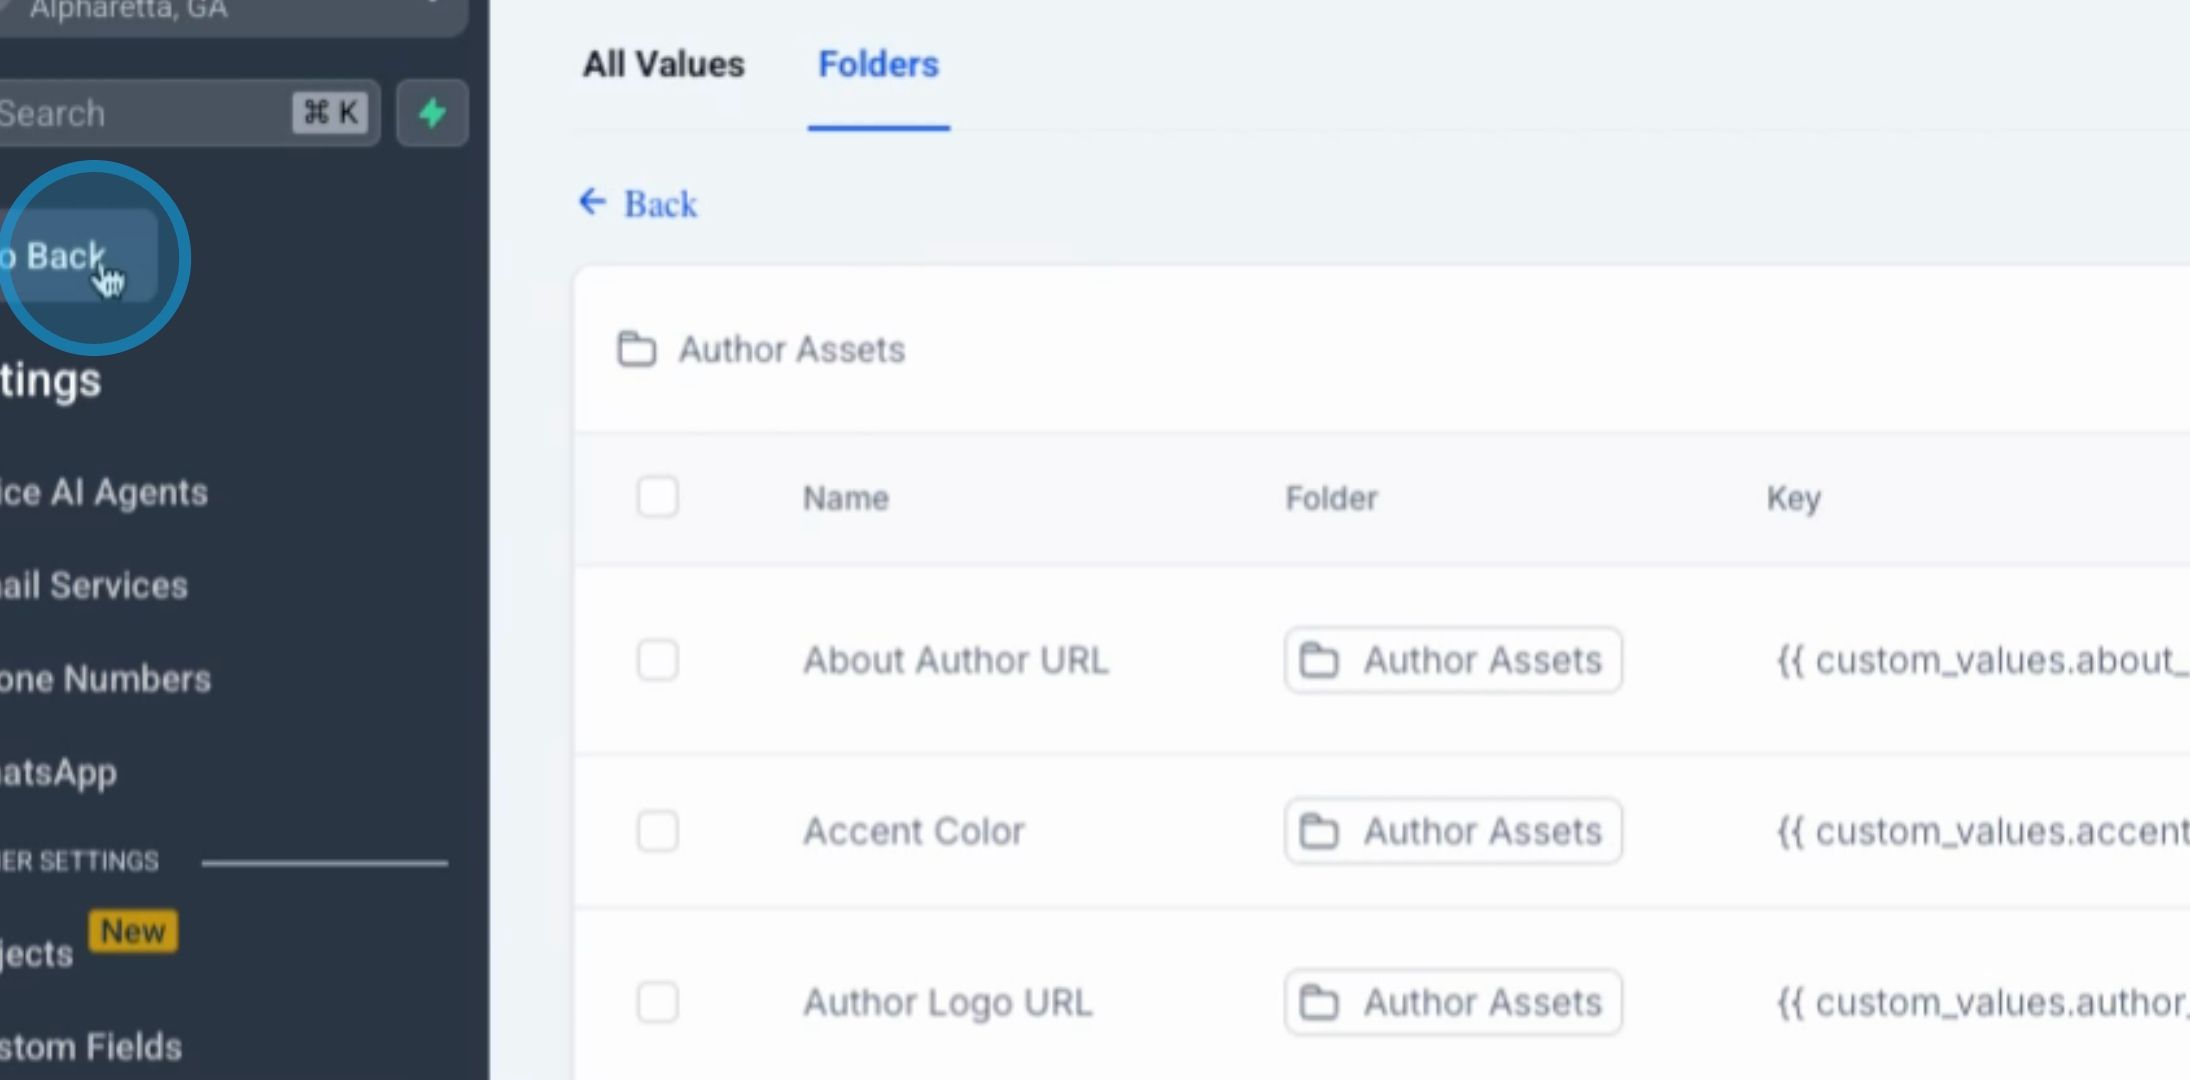
3. Open Author Assets
Next, click on Folders under the author assets section, and then select Author Assets.
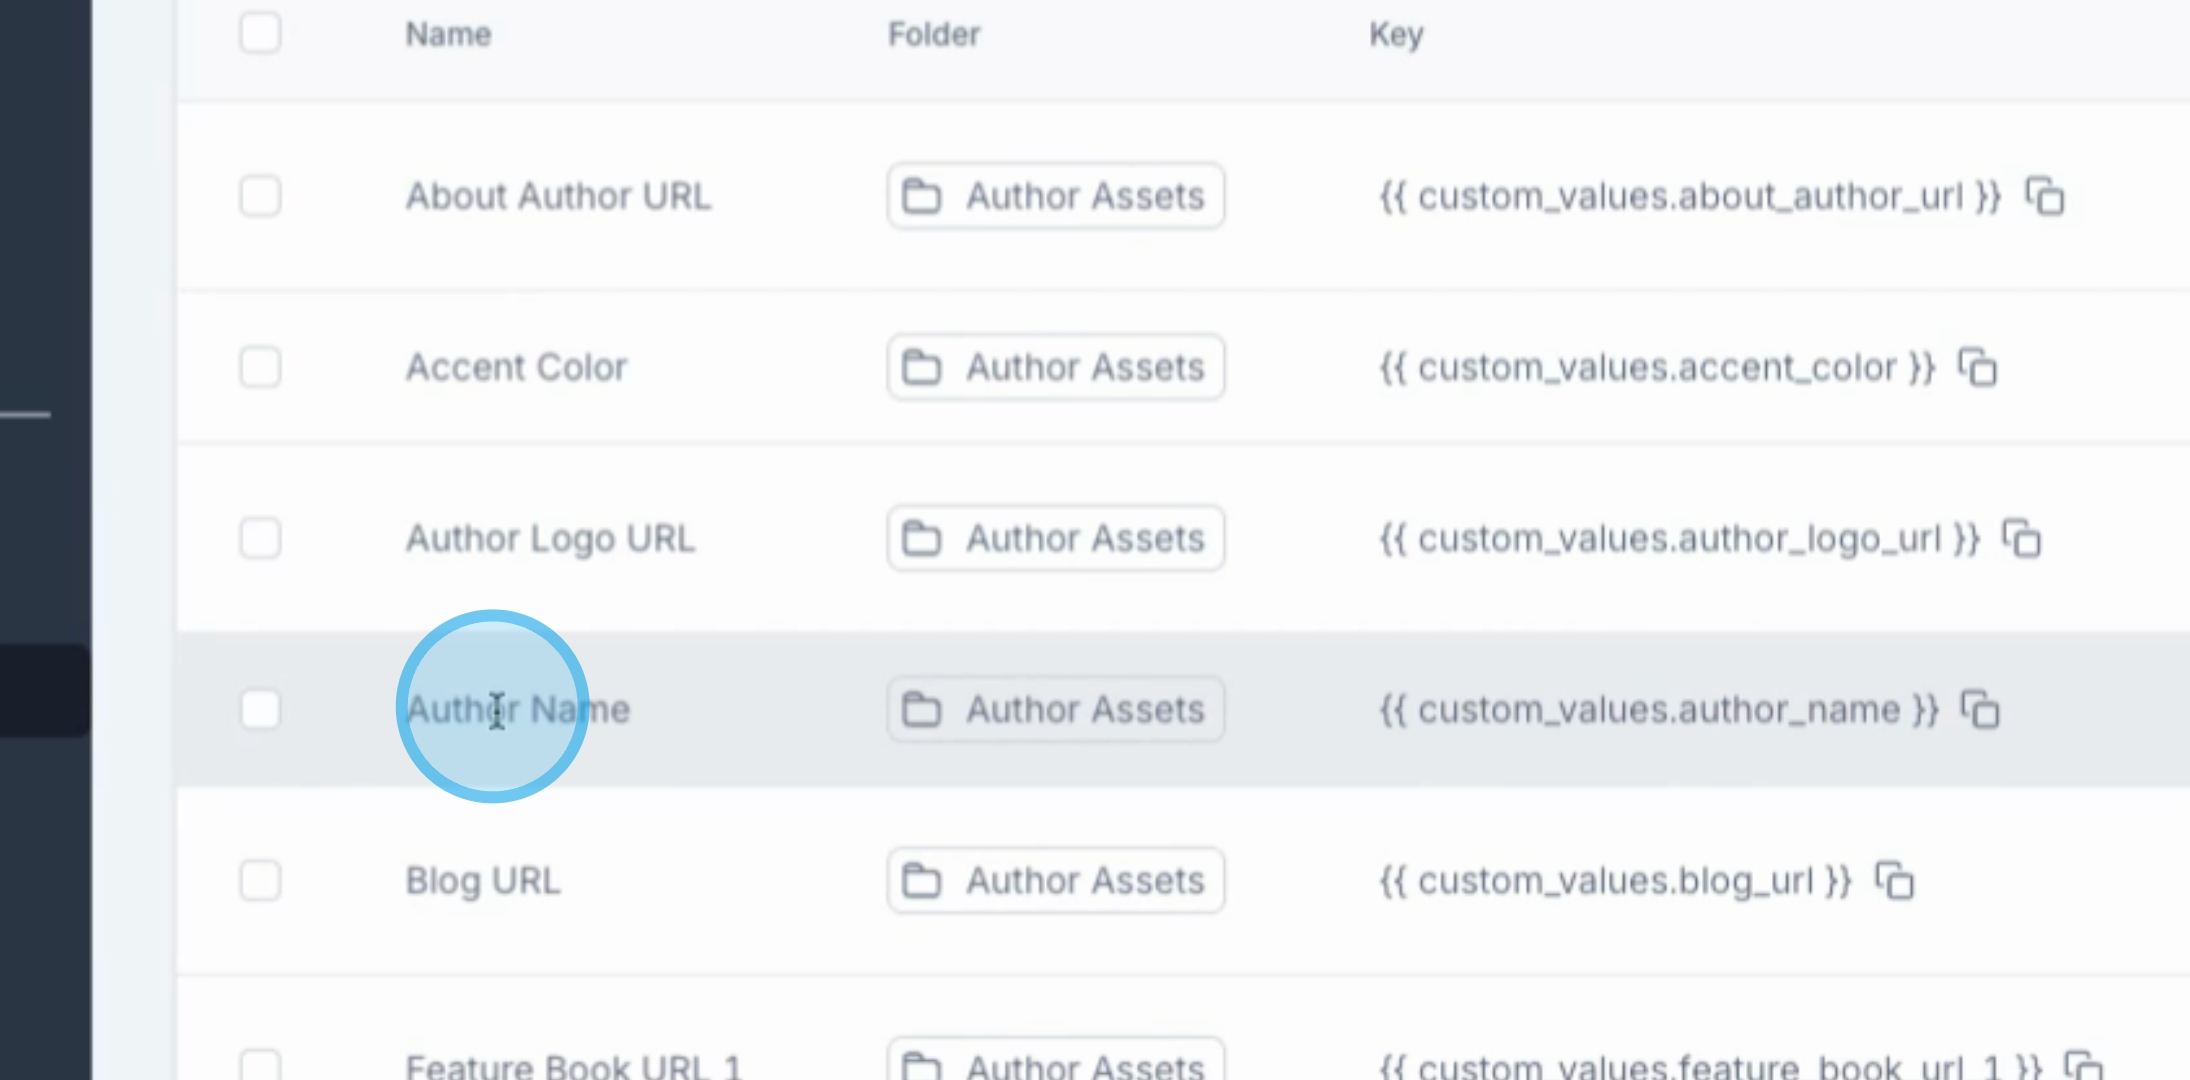
4. Review Available Values
Here, you will see all the different items to which you can add values.
5. Fill in Relevant Information
When someone fills out a form, navigate to that person's sub-account and take the content from the form to fill in any relevant details connected to this value. This process will help you identify the author easily.
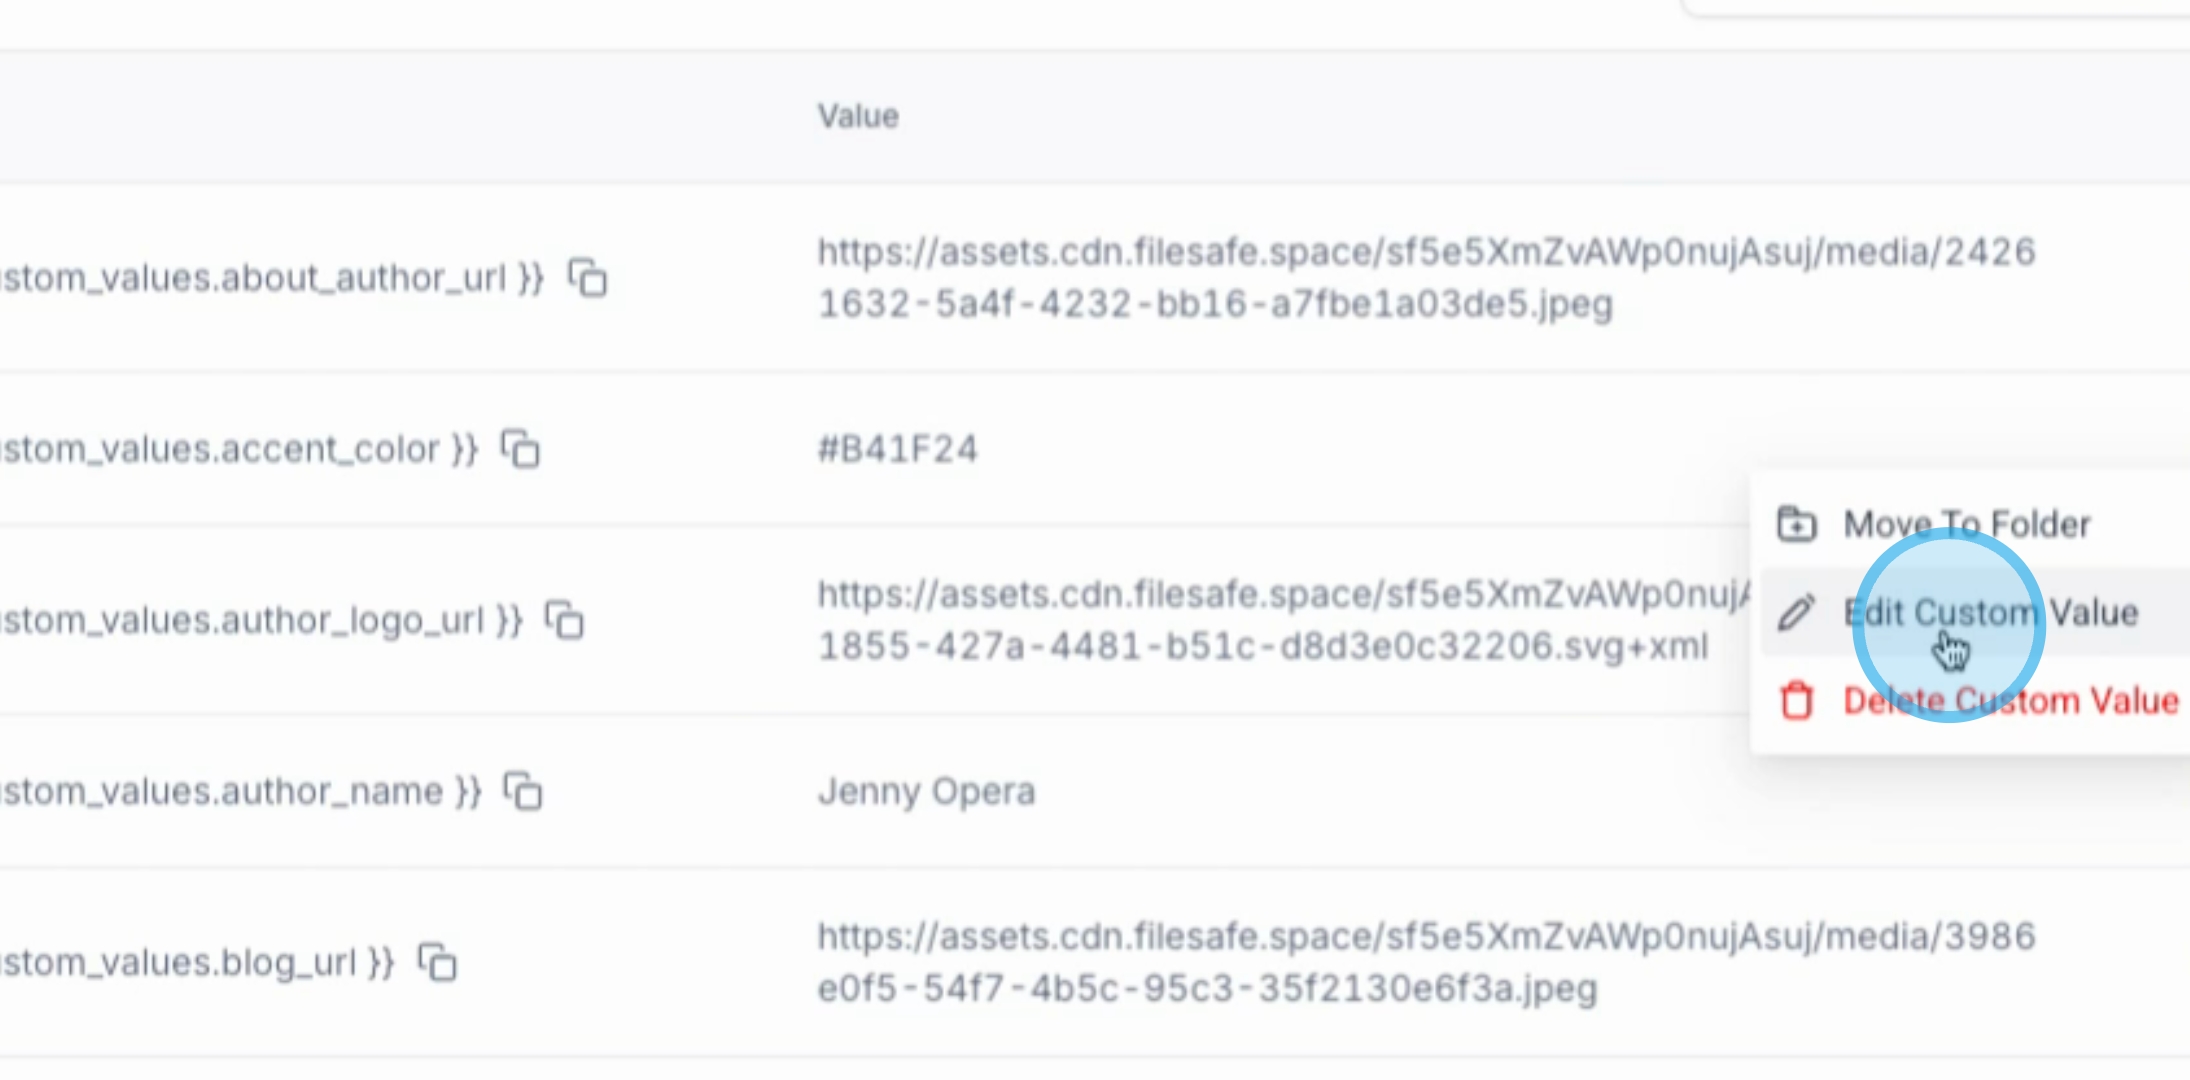
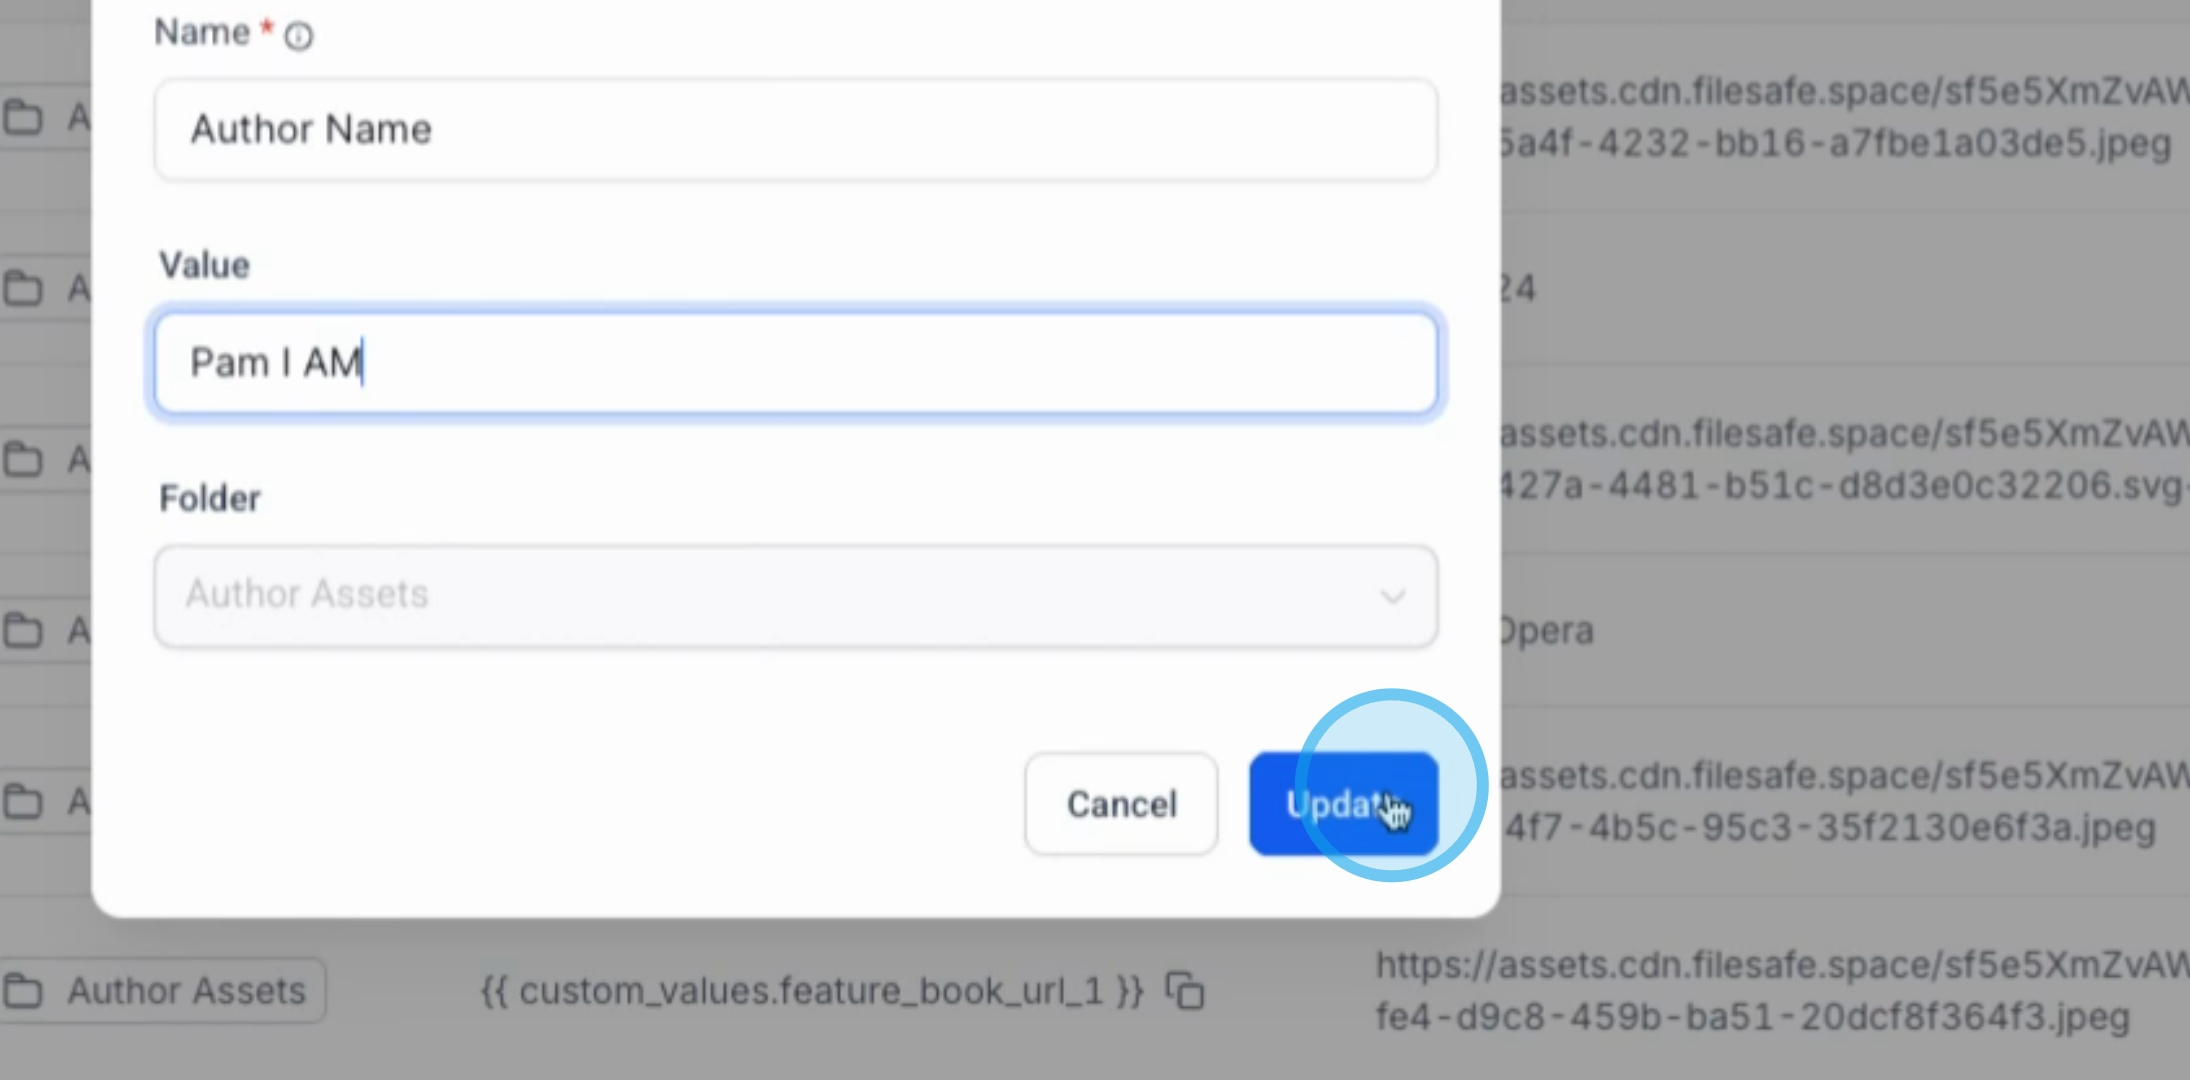
6. Edit Custom Value
To update the name, click in the designated area and hit Edit Custom Value. Change the default name to your desired name, for example, Pam I am.
7. Update Changes
After making the necessary changes, hit Update to save your modifications.
8. Preview the Changes
Finally, go into the form to preview the changes. It may require you to click on Preview to see the updated name.
Conclusion
By following these steps, you can successfully integrate onboarding form information into custom values, enhancing the management of author details within your account.